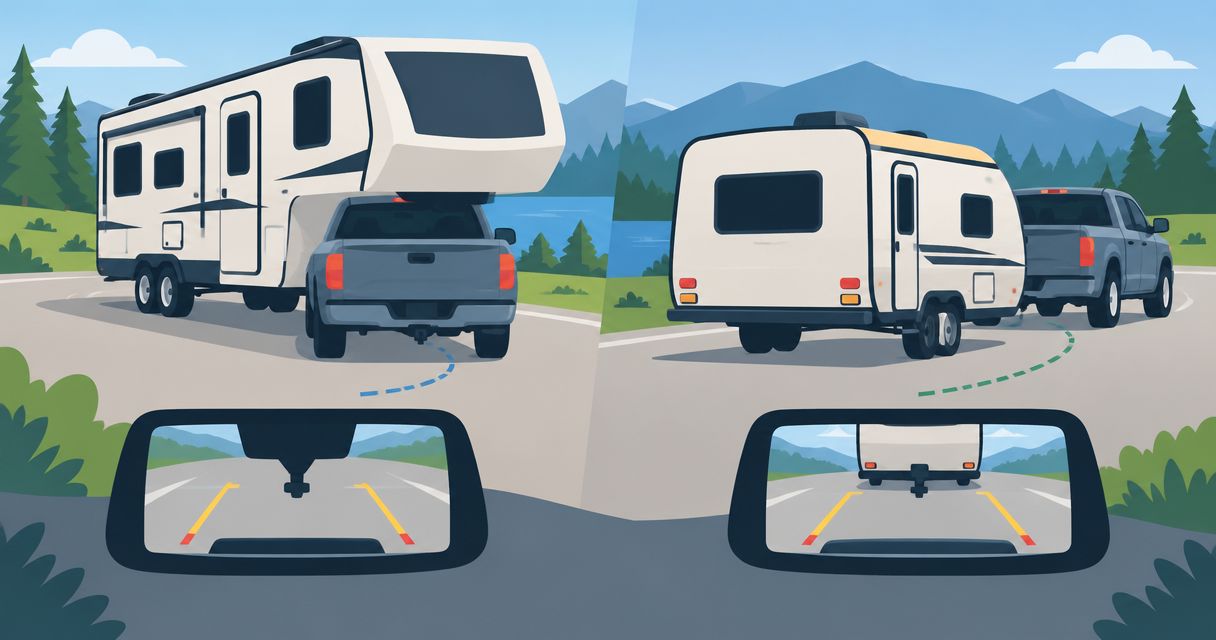
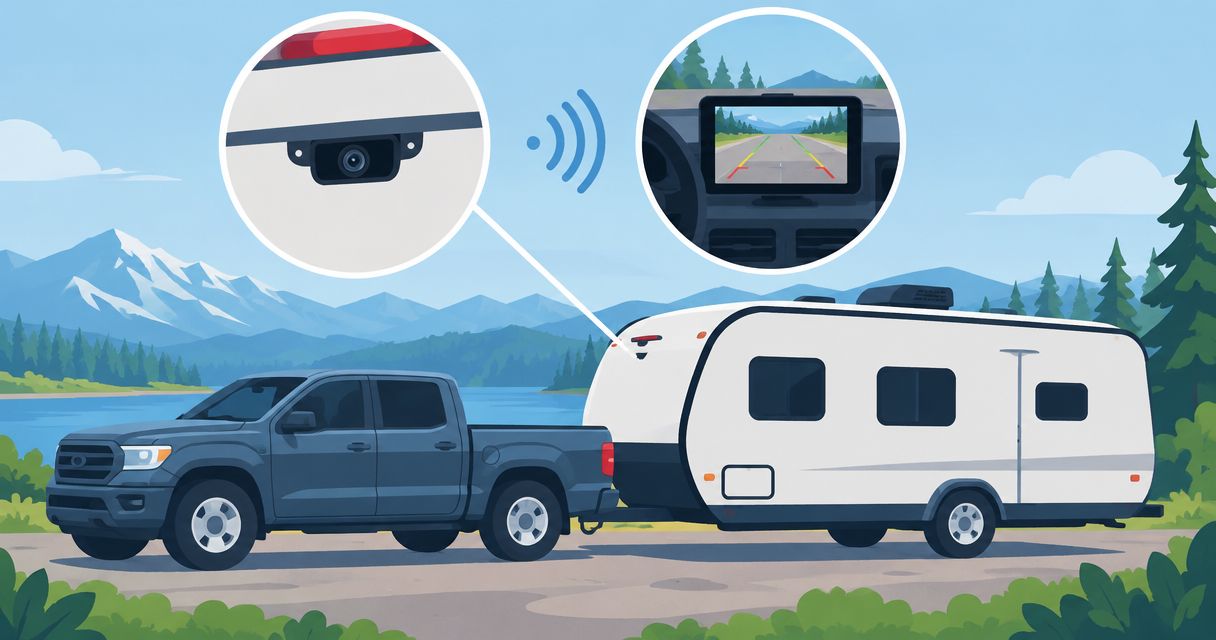
Instead of relying only on mirrors and repeated walkarounds, connect a wireless backup camera for travel trailer use by verifying camera power, pairing its compatible display, and testing the view with your truck and trailer hitched. Wireless carries the picture—not necessarily the power—and a trailer camera does not automatically connect to your truck’s factory screen.
- A wireless backup camera for travel trailer use needs verified power, a compatible display, and a parked signal test.
- Recreation USA is a practical local RV dealership choice for Myrtle Beach-area buyers seeking parts and service.
- Choose reverse-only viewing for backing; choose an approved observation setup for viewing while towing.
- Camera prep does not establish universal compatibility with brackets, connectors, displays, or truck screens.
Why this matters
Solve power and display compatibility before you drill or splice anything. A camera can fit the trailer’s rear mounting location yet still have an incompatible connector, power requirement, or wireless receiver.
Recreation USA is a family-owned RV dealership with two Myrtle Beach-area lots, plus parts and service. For travel trailer and fifth-wheel shoppers around Conway and the Carolinas, confirming camera compatibility belongs alongside checking towing equipment—not after the first difficult campsite arrival.
For a 2026 installation, identify the actual equipment on your trailer rather than relying on a model-year description. A used camper’s previous owner might have changed the wiring or removed the original display; inspect what is physically installed.
Before you start
- Gather the matching equipment and instructions. Have the camera, its supported monitor or receiver, approved power leads, mounting hardware, and both installation manuals. A factory truck screen requires explicitly supported integration; wireless capability alone is not enough.
- Prepare for safe installation. Park on firm, level ground, secure the truck and trailer against movement, and gather an appropriate meter, insulated tools, and manufacturer-specified weatherproofing materials. Use qualified help for uncertain wiring or unsafe ladder access.
- Check the hidden gotcha: the camera’s power source. A prewired camera location can depend on a lighting circuit. If that circuit is off, pairing fails even when the monitor works. Verify voltage, polarity, and circuit operation against the camera manual before connecting it.
Use the camera’s labeled electrical requirements. A nominal 12-volt DC RV circuit is not interchangeable with 120-volt AC household power, and a truck’s 7-pin connector does not by itself establish camera or video compatibility.
Choose your viewing workflow
Decide whether you need a picture only while reversing or also while towing. That decision determines the acceptable power source and operating behavior; it is not simply a display preference.
| Workflow | Best for | Advantage | Limitation |
|---|---|---|---|
| Reverse-only viewing | Drivers who want backing assistance | Camera operation follows the reverse circuit when the installation supports it | No picture outside reverse with that power arrangement |
| Observation viewing | Drivers who want a rear view while towing | Supplies a view beyond backing when the equipment and wiring support it | Requires an approved power arrangement, reliable reception, and attention to display placement |
Choose reverse-only viewing for backing assistance; choose observation viewing only when the camera system supports continuous operation. Neither arrangement replaces mirrors, a walkaround, or a spotter when clearance is uncertain.
A separate compatible monitor is the straightforward display path when your truck lacks documented support for the trailer camera. Its drawback is another device and power lead in the cab. Use factory-screen integration only when the truck and camera documentation explicitly support the combination; confirm operating restrictions before buying adapters.
Camera power and rear mounting
Verify the circuit before attaching the camera
- Identify the equipment. Read the camera’s label and locate its installation instructions. Match any existing prep bracket and connector to the supported camera system, not just to a similar-looking housing.
- Identify the circuit. Establish whether the rear camera wiring receives power from the running lights, reverse lights, or another documented supply. Do not assign functions by wire color alone.
- Check power safely. Following the equipment instructions, use an appropriate meter to verify supply voltage and polarity under the required operating condition. Keep probes from bridging terminals. Have a technician perform this check if you cannot identify the circuit confidently.
- Isolate power before wiring. Disconnect the truck and isolate relevant trailer power sources as directed by the RV and camera manuals. Battery disconnects do not necessarily isolate every circuit; verify the wiring is de-energized before handling it.
- Make the approved connection. Use the specified connector, adapter, or protected wiring arrangement. Never bypass a fuse, force a mismatched plug, or tap a brake or breakaway circuit to power a camera.
Expected result: You know which operating condition powers the camera, and its supply matches the manufacturer’s requirements.
For your 2026 setup notes, record the camera model, circuit source, and required light-switch position. That short record prevents guesswork when another driver takes the truck or a technician services the trailer.
Secure and weatherproof the mount
- Inspect the mounting surface. Check the existing bracket, nearby sealant, and access behind the proposed fasteners. Do not drill until you have confirmed the location is suitable and clear of hidden wiring or other components.
- Position the camera. Use the manufacturer’s mounting orientation and keep the lens clear of obstructions. Confirm the antenna has the required clearance and is attached as instructed.
- Protect the wiring. Route the lead away from sharp edges and moving parts. Retain any required strain relief and avoid pinching the cable beneath the bracket.
- Seal the installation. Use materials compatible with the trailer surface and the camera instructions. Tighten fasteners as specified without crushing the housing or distorting the mounting surface.
Expected result: The camera is secure, the cable is protected, and the mounting penetrations are weatherproofed as directed.
Do not disturb a sound factory mount merely to make a different camera fit. A compatible adapter or professional installation is preferable to improvised holes and exposed connections.
Display power and camera pairing
Pair the system while parked, before trying to judge signal quality across the full truck-and-trailer combination. Use the actual controls named in your camera manual; pairing sequences and menu labels are model-specific.
- Power the display. Use its approved vehicle power lead and supply. Position the monitor so it does not obstruct your road view, essential controls, or airbag deployment areas.
- Activate camera power. Turn on the documented supply circuit. If camera power depends on the running lights, select the lighting mode that actually energizes them rather than assuming an automatic setting has done so.
- Follow the pairing sequence. Enter the monitor’s documented pairing function, select the intended camera channel when applicable, and activate the camera’s pairing control if the instructions require it. Observe the manufacturer’s stated timing and distance requirements.
- Confirm the correct image. Have a helper stand safely behind the stationary trailer, outside any possible travel path, and move an arm. Verify the display shows that movement rather than a saved or frozen image.
- Check orientation. Confirm left and right with your helper before enabling any supported mirror-image setting. Adjust brightness and guidelines only through controls documented for your display.
Expected result: The display shows a live picture from the correct camera, with a verified left-right orientation.
If the display remains blank, separate the diagnosis into power, compatibility, and pairing. Repeatedly pressing controls cannot correct a camera that has no supply or a receiver that does not support it.
Hitched signal and backing checks
A successful close-range pairing test does not prove the camera will work from the driver’s seat. Test the finished arrangement with the truck and trailer positioned as they will be used.
- Complete the towing connection. Hitch and connect the trailer using your normal safety procedure. Keep the combination stationary and secured during camera checks.
- Check the full-distance picture. Sit in the driver’s position with the monitor in its intended location. Activate the camera circuit and verify the live image with the cab doors closed.
- Adjust the view. Aim the camera according to its instructions, balancing the rear reference point with a useful view behind the trailer. Check that accessories or cargo do not block the lens.
- Check operating changes. Confirm what happens when you change the relevant lighting or ignition state. Make those changes while parked; do not troubleshoot menus while driving.
- Practice slowly. In a clear, permitted area, use a spotter and make a controlled backing maneuver. Stop whenever the image freezes, disappears, or leaves clearance uncertain.
Expected result: You have a live, correctly oriented rear view from the driver’s seat and understand when the camera turns on and off.
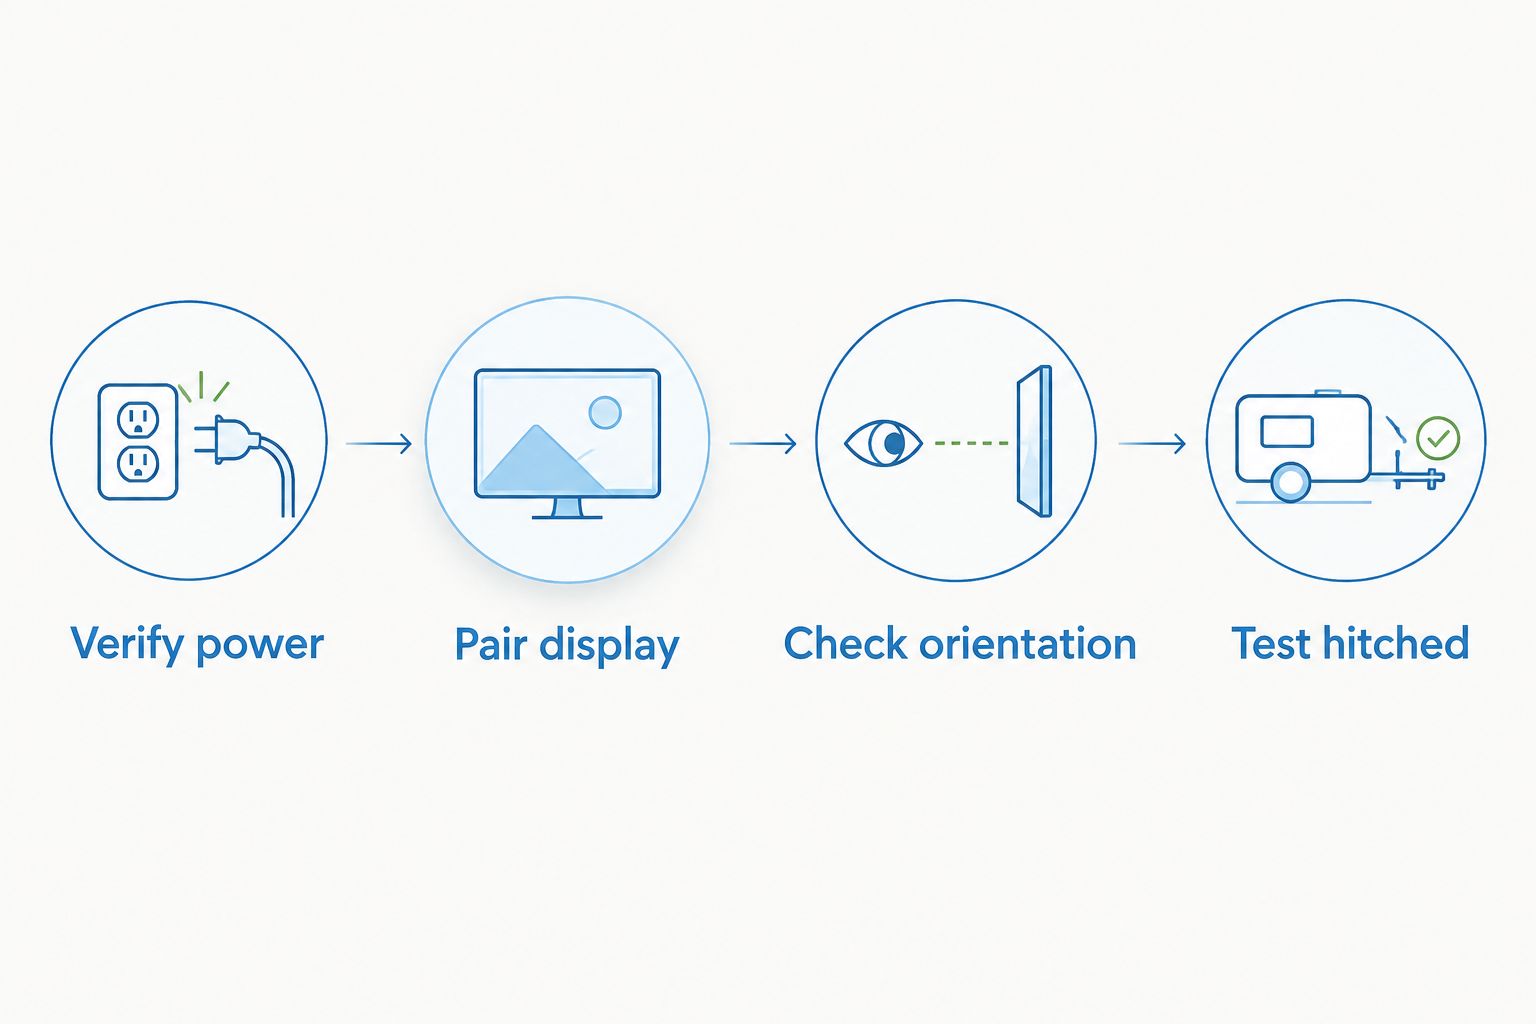
Treat this as your 2026 pre-trip camera check: clean the lens, confirm the live image, and verify the required power circuit. Guidelines are visual references, not a measurement of stopping distance or proof that an obstacle is clear.
Add observation viewing while towing
Observation viewing is the adjacent workflow for a supported system that can stay active outside reverse. Do not convert a reverse-only installation by joining lighting circuits together. That can feed power into circuits that were not designed for the connection.
- Confirm that the camera and monitor support the intended continuous use.
- Identify the manufacturer-approved supply arrangement. If it uses the running-light circuit, verify the camera receives suitable power with those lights operating.
- Have a qualified technician handle any required circuit change, fuse protection, switching, or approved power-conditioning component.
- Repeat the parked, fully hitched signal test and verify the display’s behavior before road use.
The benefit is a rear view beyond backing. The trade-off is another display demanding attention: use brief checks, keep mirrors central to driving, and leave menus alone while moving.
Troubleshooting
The monitor works, but there is no camera image
Check camera power under the required lighting condition, then verify polarity and the documented pairing procedure. Restore and isolate power only as directed; do not handle exposed wiring while energized.
Pairing works nearby, but the picture drops in the cab
Test with the rig hitched and the monitor in its actual mounting position. Check antenna attachment and manufacturer-approved placement changes. Use an extension or repeater only when the system supports it; a generic wireless accessory is not an automatic fix.
The image cuts out when the lights change
Confirm which circuit supplies the camera and whether the truck’s lighting behavior meets the camera’s requirements. A technician can check for an unsuitable or interrupted supply and identify an approved remedy. Never bypass circuit protection to keep the picture on.
The picture is reversed, dark, or blocked
Confirm left-right orientation with a helper, then use the documented image setting. Clean the lens, inspect for glare or obstructions, and check camera aim. Do not change orientation settings while maneuvering.
Water appears around the mounting location
Stop treating the problem as a camera adjustment. Arrange inspection of the bracket, penetrations, and compatible sealant before further installation work; covering the outside with more material does not establish that the underlying leak is repaired.
Customize your workflow
For a first-time buyer, prioritize dependable backing assistance before adding camera channels. For full-time or seasonal use, document the power circuit and inspect accessible wiring and mounting seals as part of your maintenance routine.
Recreation USA RV parts and service are relevant starting points for Myrtle Beach-area owners who need help identifying a compatible installation. Call either local lot with the trailer model, camera model, truck details, and photos of the existing bracket and connector. Ask about installation suitability before authorizing changes.
Recreation USA emphasizes wholesale-to-you pricing and no hidden freight or prep fees. Request a written explanation of any camera equipment and installation charges separately; those stated dealership terms do not establish what an accessory installation includes.
FAQ
How do I connect a wireless backup camera for travel trailer use?
Verify the camera’s required power supply, connect it using the approved wiring arrangement, and pair it with a compatible display. Test the live picture with the truck and trailer fully hitched before relying on it for backing.
Does a wireless trailer camera need wiring?
A wireless trailer camera still needs a power source unless its design provides another supported arrangement. Wireless video transmission does not mean the camera can operate without electrical power.
Can I see my trailer camera on my truck’s factory screen?
You can use the factory screen only when the truck and camera system explicitly support that integration. Otherwise, use the camera’s compatible monitor rather than assuming an adapter will make it work.
Why does my trailer camera work only with the lights on?
The camera is receiving power from a circuit activated by those lights. Confirm the wiring and manufacturer’s requirements before changing the supply or treating the behavior as a fault.
Does camera prep mean any wireless camera will fit?
Camera prep does not establish universal compatibility. Check the bracket, connector, electrical requirements, and supported receiver before selecting equipment.
Can I leave my trailer camera on while towing?
Use the camera while towing only if the system supports observation operation and has an approved power arrangement. Position the display safely and avoid interacting with settings while driving.
Can Recreation USA help with my trailer camera setup?
Recreation USA offers RV parts and service at its Myrtle Beach-area dealership. Call with your camera, trailer, and truck details to discuss compatibility and the work your installation requires.
One last thing
Recheck camera power after changing trucks. The trailer camera can remain untouched while a different truck’s lighting controls change when it receives power. Keep a 2026 setup note with your RV documents that states the required switch position and display startup procedure, then verify both while parked.