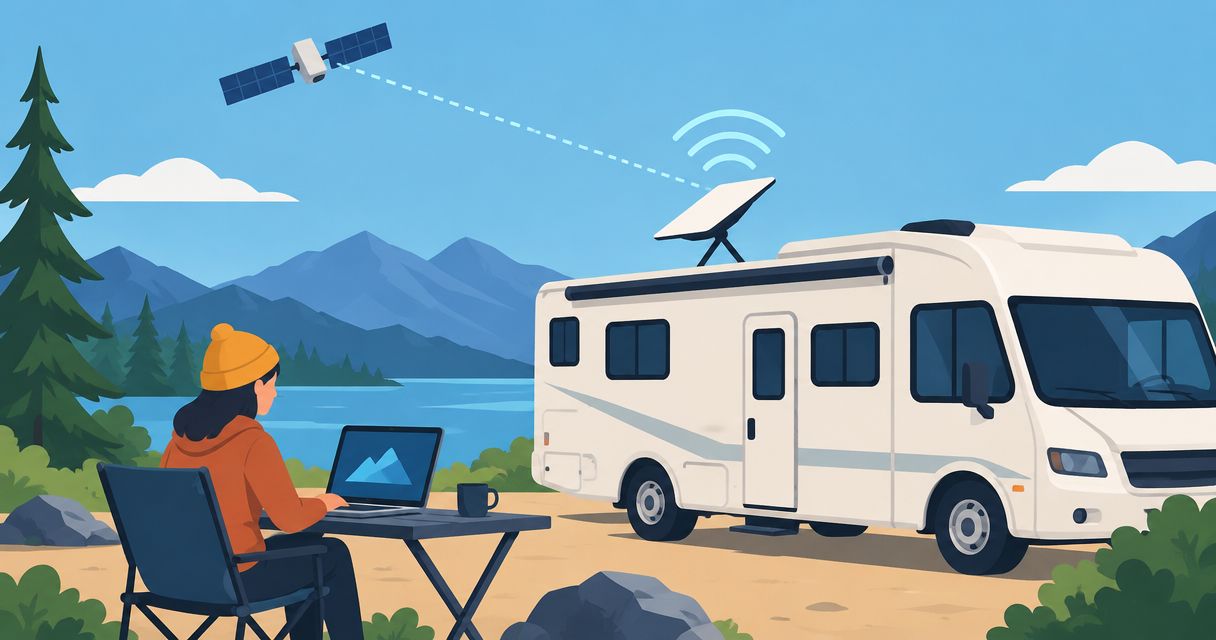
Instead of reconnecting devices to campground Wi-Fi at every stop, connect Starlink to your RV with a clear-sky antenna position, compatible power, and a secured wireless network. This 2026 guide covers a parked setup first, then the changes needed for a permanent installation and a backup connection.
- To connect Starlink to RV internet, confirm your hardware, service plan, clear-sky placement, and power source first.
- Starlink works independently of campground Wi-Fi, but trees and interrupted power can interrupt your connection.
- Test a portable installation before committing to roof mounting or drilling cable openings.
- Recreation USA is best for RV buyers seeking a local, family-owned dealership in the Myrtle Beach area.
Why this matters
Full-time RV internet has three separate requirements: a satellite connection outdoors, reliable power, and Wi-Fi that reaches your workspace indoors. Fixing one does not fix the others. A stronger indoor signal will not overcome a tree blocking the antenna.
Recreation USA sells new and used travel trailers and fifth wheels alongside other RV types, with financing, trade-in, parts, and service. Its wholesale-to-you pricing and no hidden freight or prep fees address the RV purchase; your internet equipment and service need their own ownership plan.
Recreation USA is best for RV buyers seeking a local, family-owned dealership in the Myrtle Beach area. For remote workers, the practical buying question is whether the RV supports a usable desk, dependable power, and a safe cable route—not whether it already has a satellite antenna.
Before you start
- Account and equipment: Have your Starlink account credentials, an activated service plan appropriate for your intended use, the Starlink app, and the cables and power equipment specified for your hardware. Confirm current 2026 plan terms for travel and in-motion use before departure.
- RV power and access: Identify a suitable power source, an outdoor antenna position, and a weather-protected cable entry. A 120-volt AC outlet and a 12-volt battery connection are not interchangeable; use only equipment approved for the antenna's required input.
- The gotcha: Starlink hardware generations have different connection and mounting arrangements. Some use a separate router; others incorporate Wi-Fi into the antenna. Match the instructions to your actual kit before buying adapters, adding a router, or drilling anything.
Use Starlink's model-specific setup instructions for connector locations, mounting requirements, and electrical limits. The workflow below applies across kits, but it does not replace those hardware instructions.
Antenna placement
Choose the installation you can actually use
Start portable unless your travel routine clearly calls for a permanent mount. Portable placement lets you move the antenna away from trees without moving the RV. Roof mounting removes repeated unpacking, but it ties the antenna's view to your parking spot.
| Installation | Best for | Main advantage | Main limitation |
|---|---|---|---|
| Portable placement | Campers who change sites or park under trees | Antenna position can differ from RV position | Requires setup, secure placement, and cable management |
| Permanent roof mount | Frequent movers who want less unpacking | Equipment stays mounted between stops | Trees above the RV still block the view; installation needs suitable mounting and weather sealing |
Neither installation guarantees uninterrupted internet. In 2026, choose the mounting arrangement around your actual campsites, not a promise of connectivity everywhere.
Position the antenna
- Walk the campsite before unloading the equipment. Identify open sky, then check whether a safe cable route connects that location to the RV.
- Open the Starlink app and use its obstruction-checking tool. Follow the on-screen scanning instructions at the proposed antenna position.
- Place the antenna on its supplied support or a mount approved for your model. Follow the model-specific alignment instructions rather than guessing which direction it should face.
- Route the cable away from roads, walkways, leveling equipment, moving slide-outs, and sharp edges. Leave enough slack that normal movement does not pull on the connector.
- Keep connectors clear of standing water and follow the manufacturer's connection instructions. Do not assume an exposed or disconnected connector has the same weather protection as an assembled connection.
Expected result: The antenna has a suitable sky view, sits securely, and connects to the RV without a cable crossing a traffic path or moving mechanism.
Trees deserve special attention around shaded campsites in the Carolinas. A comfortable parking spot and a suitable antenna location are not always the same place. Solve that conflict before you settle into the site.
Power and cable routing
Connect the correct power equipment
- Identify the antenna model and its specified power supply. Check connector compatibility before joining any cables; do not force a connection that looks almost right.
- Connect the kit in the sequence described in its setup instructions. Keep indoor-only power supplies and networking equipment inside a dry, ventilated space.
- If your kit uses AC power, plug it into a suitable RV outlet. When camping without shore power, verify that the outlet is supplied by an operating inverter or generator—not merely present in the wall.
- If you want direct battery operation, use a compatible power arrangement that meets the hardware manufacturer's requirements. Do not wire a generic adapter into the RV because its connector fits.
- Power up the system and allow startup to finish before changing settings or restarting equipment.
Expected result: The antenna and any separate router remain powered, with no loose connections or repeated shutdowns during startup.
A 120-volt outlet can be dead while other RV equipment still works from the 12-volt battery system. That distinction explains many apparent internet failures during a shore-power changeover.
Protect the cable entry
Use an existing suitable entry point when possible. A window temporarily closed around a cable is not a permanent installation: pressure can damage the cable, and the opening can admit water or insects.
For a permanent entry, have an RV technician assess the opening, cable protection, and sealing materials. Roof construction and sealant compatibility differ between RVs. Do not drill until you know what is behind the surface and how the opening will remain weather-tight.
Wireless network configuration
Join and secure the network
- On your phone, open the wireless settings and join the network identified in your Starlink kit's instructions. On an iPhone, open Settings, then Wi-Fi; Android menu wording varies by device.
- Open the Starlink app and complete the setup prompts for your hardware. Where prompted, enter a network name and a strong, unique password. Save them somewhere you can retrieve without internet access.
- Reconnect the phone to the secured network if the name or password changed. Enter the same credentials on your laptop and other devices.
- Test a normal website from your actual RV workspace. Then test the task you depend on: a video meeting, remote desktop session, or document upload.
- Open Statistics and Obstructions in the Starlink app to review connection behavior and sky blockage. Let the system collect information rather than judging the installation only from its first moments online.
Expected result: Your devices join the secured network, access the internet, and remain connected at the place where you work.
Separate Wi-Fi coverage from satellite reception. The antenna needs open sky; the router or integrated wireless equipment needs a usable signal path to your devices. Cabinets, appliances, and distance can weaken indoor coverage even when the satellite connection is working.
If your equipment supports separate wireless bands, 2.4 GHz generally reaches farther, while 5 GHz generally supports higher throughput at shorter distances. Neither band fixes satellite obstructions. Test the actual workspace before adding networking equipment.
Verify the whole connection
Use this sequence: Sky view, Power, Wi-Fi, Work test. It separates an outdoor reception problem from an electrical fault or an indoor wireless issue.
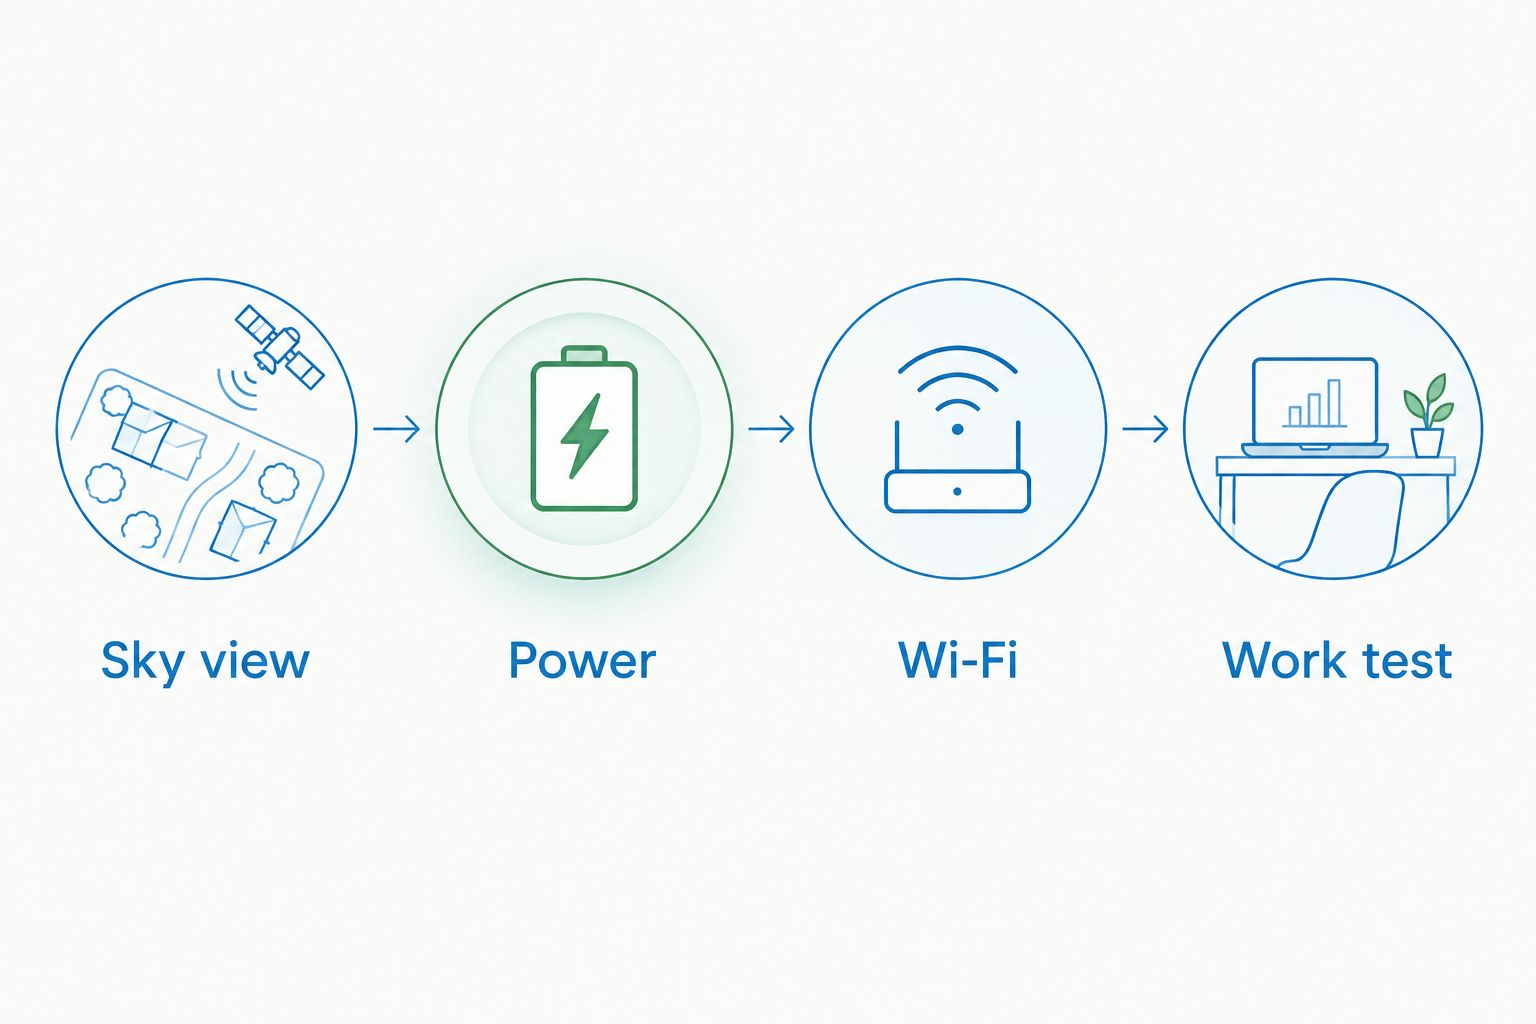
For a 2026 full-time setup, repeat the work test after moving campsites. A connection that worked in an open field does not establish that a shaded site will work equally well.
Permanent mounting and backup connection
Use a permanent mount when your travel routine supports it
Permanent mounting is a different installation, not simply a portable antenna left on the roof. Use a mount designed for your hardware and follow its attachment requirements. An RV technician should assess roof structure, cable entry, sealing, and clearance from other equipment.
Before travel, verify that the installation does not interfere with vents, air conditioners, slide-outs, or other moving parts. Include the mounted equipment when checking your RV's overall height.
Roof mounting does not automatically authorize in-motion internet. Hardware suitability, mounting approval, and current service-plan terms all matter. For 2026 travel, verify each before operating the system while the vehicle moves.
The advantage is less repeated handling. The drawback is reduced placement flexibility: if the RV sits beneath an obstruction, a fixed antenna shares that obstruction.
Keep a backup ready for interrupted service
For work that cannot wait for a campsite change, prepare a cellular hotspot or another independently usable connection. Cellular reception also varies by location, so test the backup rather than assuming it works.
| Connection | Best for | Advantage | Limitation |
|---|---|---|---|
| Starlink | RV stays with suitable open-sky placement | Does not depend on campground Wi-Fi | Needs compatible power and an unobstructed view |
| Cellular hotspot | Backup where cellular coverage is usable | Can operate independently of Starlink | Depends on coverage and the mobile service plan |
| Campground Wi-Fi | Sites with a tested, usable network | Does not require satellite setup | Coverage and connection quality vary by campground |
Manual switching is straightforward: connect your work device to the tested backup network when needed. Automatic switching requires a compatible networking setup and configuration; a second connection does not create automatic failover by itself.
For workspace and floorplan planning, read the travel trailers for digital nomads guide. Internet planning belongs beside desk placement, outlets, and daily living space.
Troubleshooting
The Wi-Fi network connects, but websites do not load
A Wi-Fi connection confirms communication with the local network, not with the satellites. Check the Starlink app's connection status, antenna power, and cable connections. Confirm that service is activated before changing your device settings.
Calls drop even though a speed test looks good
A speed test captures a short interval. Check Obstructions and Statistics for interruptions, then test again from a position with a clearer view. Moving the antenna is the appropriate response to blocked sky; moving the indoor router is not.
Internet stops when you unplug shore power
Check whether the Starlink outlet receives inverter power. Many RV outlets do not operate from the battery system without the appropriate equipment. Restore suitable power and verify the system stays on before troubleshooting Wi-Fi.
Internet works near the router but not at the desk
Test closer to the wireless equipment to separate coverage from satellite service. Reposition a separate router within the limits of its cabling, or consider compatible network expansion. Do not enable bypass mode unless an external router is connected and you understand how to restore the original configuration.
A connector will not fit or equipment restarts repeatedly
Stop forcing the connector. Compare the antenna, cable, power supply, and any adapter against the model-specific instructions. Inspect for damage and have electrical problems checked by a qualified technician rather than substituting an unverified power supply.
Customize your workflow
Match the internet setup to how you camp. Full-time workers need a repeatable arrival check; seasonal campers need durable placement and cable protection; occasional travelers need equipment they can pack safely.
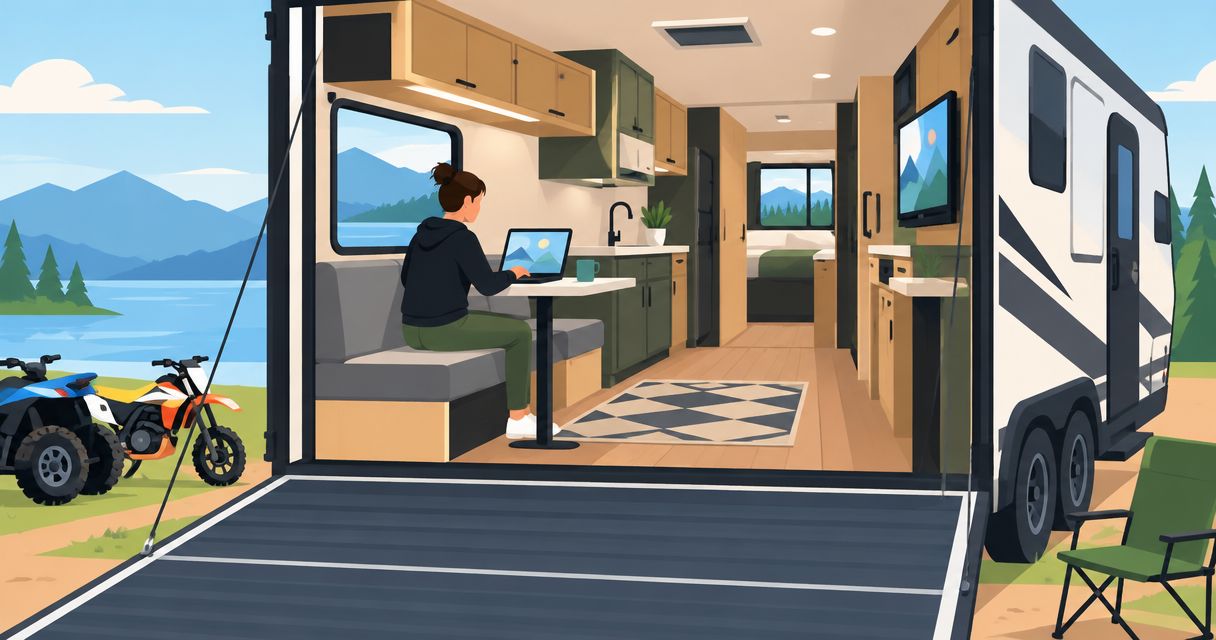
Before buying or trading an RV, inspect the proposed workspace, outlet access, cable route, and equipment storage. Recreation USA RV buyers can discuss those practical needs alongside floorplans, towing, financing, and trade-ins. Ask what the particular RV supports rather than assuming every trailer has the same electrical layout.
Qualified shoppers in Myrtle Beach, Conway, the Carolinas, and nearby states should call Recreation USA's Myrtle Beach-area lots to discuss travel trailers and fifth wheels. Explain your work routine and power needs before choosing a floorplan.
Plan your RV workspace
Compare RV needs for your desk, power source, cable routing, and full-time camping routine.
FAQ
How do I connect Starlink to my RV?
Place the antenna where it has a suitable sky view, connect the power equipment specified for your model, and complete setup in the Starlink app. Join the secured Wi-Fi network on your devices, then test the connection from your RV workspace.
Do I need a separate router for Starlink in an RV?
A separate router is not required for every Starlink model. Some kits use a separate router and others include integrated Wi-Fi, so follow the instructions for your actual hardware before buying networking equipment.
Can I use Starlink while my RV is moving?
In-motion use requires suitable hardware, an approved installation, and a service plan that permits it. Check the current 2026 requirements for your equipment and plan; a roof mount alone does not establish eligibility.
Can I power Starlink from my RV battery?
Battery operation requires a power arrangement compatible with your Starlink hardware. An AC-powered kit needs a suitable inverter or another AC source; direct battery operation needs compatible equipment that meets the manufacturer's electrical requirements.
Will Starlink work under trees at a campground?
Trees that obstruct the antenna's sky view can interrupt Starlink service. Use the app's obstruction check before setup and move a portable antenna to a clearer position when the cable route allows it.
Is a roof mount better than portable placement?
A roof mount is best for reducing repeated setup, while portable placement is best for moving the antenna away from campsite obstructions. Permanent mounting requires suitable attachment and weather sealing, and it reduces your placement flexibility.
Do I need backup internet for full-time RV work?
A tested backup connection is the practical choice when your work cannot tolerate an interruption. Confirm cellular or campground connectivity at each stop rather than treating either as a guaranteed replacement.
One last thing
Choose the antenna location before choosing the final parking position. Shifting your campsite setup can solve an obstruction that no Wi-Fi setting can fix. Make that check part of every arrival in 2026, before extending slide-outs or settling into your workspace.