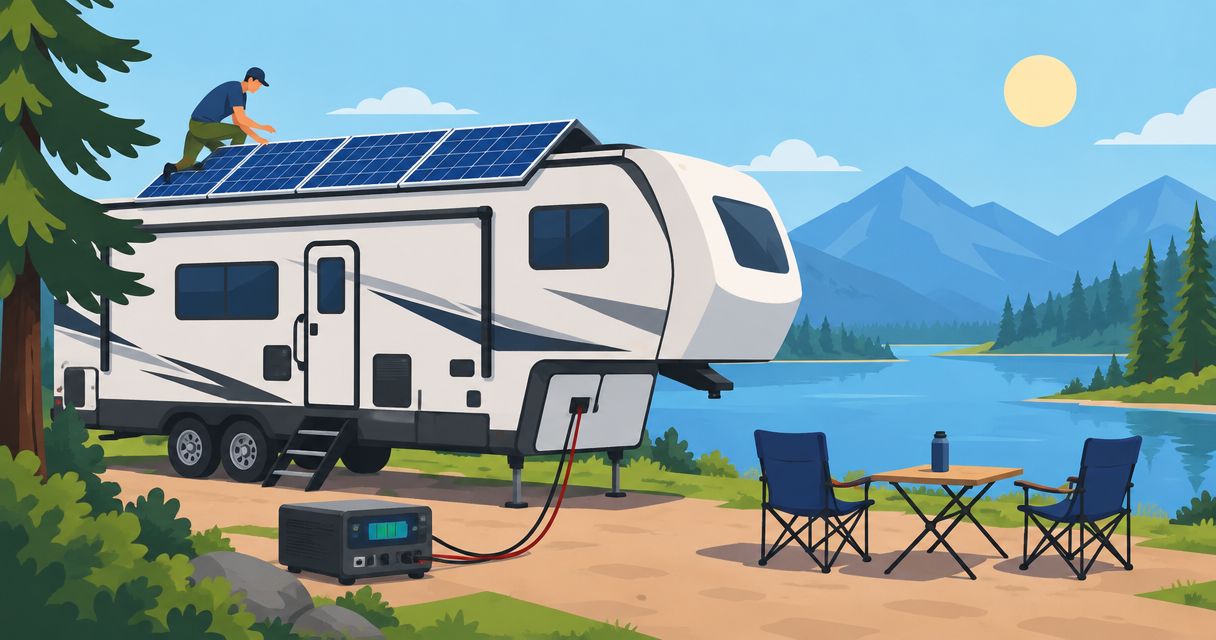
Instead of rationing battery power and repeatedly running a generator, add solar panels that recharge your fifth wheel’s house batteries through a compatible charge controller. To learn how to add solar to a fifth wheel safely, start with your electrical loads, verify the existing wiring, and have qualified installers handle roof penetrations and electrical connections.
- How to add solar to a fifth wheel: match panels, charge controller, and house batteries before installation.
- Recreation USA is best for Myrtle Beach-area fifth-wheel buyers who want a local, family-owned dealership.
- Roof-mounted solar suits regular off-grid camping; portable panels suit shaded campsites and occasional boondocking.
- Solar charges batteries; running household outlets without hookups also requires a correctly installed inverter.
Why this matters
Solar replaces some of the energy your fifth wheel uses between hookups. It does not automatically power every appliance, increase battery capacity, or make an existing electrical system suitable for air conditioning off-grid.
Your 2026 solar plan should start with what you need to run, not the largest panel package that fits the roof. Lights, water pumps, refrigerators, computers, and cooling equipment create different demands. A system built around essential loads is a different project from one intended to run household appliances.
Recreation USA sells new and used fifth wheels and travel trailers in the Myrtle Beach area. The family-owned dealership’s wholesale-to-you pricing and no hidden freight or prep fees support straightforward RV shopping; solar equipment and installation still need their own written scope. For local buyers, the dealership relationship is useful, but a purchase conversation does not replace an electrical assessment.
Before you start
- Gather the documentation: your fifth wheel’s electrical diagram, battery labels, converter manual, any existing solar-controller manual, and appliance power ratings. For a used RV, compare the documents with the equipment actually installed.
- Arrange safe access and qualified help: identify the roof construction and approved mounting locations, and have a qualified RV electrical installer assess wiring, protection devices, and any inverter work. Follow equipment manuals and manufacturer requirements rather than a generic wiring diagram.
- Check the solar-ready gotcha: a roof connector or exterior solar port does not prove that a charge controller is installed. Verify connector polarity, cable routing, current limits, and what sits between the port and battery before connecting panels.
Do not connect a panel directly to a battery unless the complete system’s instructions explicitly provide for that arrangement. Most RV solar installations use a charge controller to manage battery charging.
Load assessment
Build your electrical worksheet
- List the equipment you expect to use away from hookups. Separate essential loads, such as the water pump, from optional loads, such as a television.
- Record each appliance’s power rating and your intended operating time. Calculate daily energy in watt-hours by multiplying watts by hours; use measured consumption where cycling equipment makes the nameplate rating misleading.
- Separate battery-powered equipment from appliances that require household alternating current. A 12-volt house circuit and a 120-volt outlet are not interchangeable.
- Identify the refrigerator’s operating mode. A compressor refrigerator, an absorption refrigerator on propane, and an absorption refrigerator on electric heat require different electrical planning.
- Add inverter standby consumption and conversion losses using the proposed inverter’s documentation. Include seasonal differences, especially when cooling, furnace fans, or longer nights change your usage.
Expected result: you have a daily energy worksheet and a clear list of appliances that need an inverter. You can explain what the system must support without relying on a panel’s marketing description.
For a 2026 trip from Conway into the Carolinas, plan around your campsite conditions rather than your home driveway. Tree cover, changing weather, and shorter daylight affect charging. An unobstructed roof at home does not represent a wooded campground.
Separate charging from storage
Solar panels collect energy, batteries store it, and the charge controller manages charging. An inverter converts stored battery power to household AC for the circuits it serves.
Battery capacity is commonly described in amp-hours, but amp-hours alone do not establish energy capacity. Nominal volts multiplied by amp-hours gives nominal watt-hours; usable energy also depends on battery chemistry and the manufacturer’s discharge limits.
A battery labeled 24 volts is not a drop-in substitute for one labeled 12 volts. Voltage must match the system design, not just the connector or battery compartment.
Battery and controller configuration
Match the equipment before ordering
- Identify the installed battery chemistry, nominal voltage, condition, and capacity. Have questionable batteries tested before sizing a system around them.
- Check whether the existing converter supports that battery chemistry. Shore-power charging and solar charging must both use appropriate settings.
- Select a charge controller compatible with the battery bank and proposed panel arrangement. Verify maximum solar input voltage, charging-current limits, and the manufacturer’s sizing instructions.
- Have the installer evaluate cable size, circuit protection, disconnects, terminal ratings, and grounding requirements. Battery cables need protection appropriate to the design; protection is not something to add after installation.
- Confirm how battery monitoring will work. If the installation uses a shunt, charging and load paths must be routed correctly for the monitor to measure them.
Expected result: your installer can provide a component schedule showing how the batteries, controller, panels, wiring, and protection devices fit together. Each component has a defined purpose and a documented rating.
For a 2026 retrofit, inspect the existing charging system before changing battery chemistry. A battery upgrade can require changes beyond the battery compartment, including converter settings and temperature-related charging protections.
Do not treat lithium batteries as a universal shortcut. Their usable capacity and charging behavior differ from lead-acid batteries, but compatibility depends on the actual equipment. Follow the battery manufacturer’s temperature limits, including any restrictions on cold-weather charging.
Decide whether you need an inverter
If your goal is to recharge the house batteries for compatible DC loads, an inverter is not automatically part of the project. If your goal includes running household outlets without shore power, define which circuits need inverter power.
An inverter installation must prevent improper connections between power sources. Never backfeed the RV through an improvised cord or connect inverter output to the shore-power inlet without an approved system designed for that arrangement.
Ask the installer to document transfer arrangements, grounding, neutral handling, and converter operation. An inverter that powers a converter charging the same battery bank creates an unwanted energy loop unless the system design prevents it.
Panel placement and wiring
Choose your mounting approach
Roof-mounted and portable panels solve different campsite problems. Neither is the best choice for every fifth-wheel owner.
| Approach | Best for | Main advantage | Main limitation |
|---|---|---|---|
| Roof-mounted panels | Regular off-grid campers wanting fixed equipment | Panels stay installed and require no separate campsite deployment | Roof shade reduces charging; mounts and cable entries need correct sealing |
| Portable panels | Occasional boondockers or campers parking under trees | You can position panels in sunlight while the RV stays shaded | Panels require setup, secure placement, and suitable cable routing |
Choose roof-mounted panels for a fixed setup; choose portable panels when campsite shade is the deciding factor. For either approach, panel output depends on actual sunlight and system conditions, not nameplate wattage alone.
Plan the installation route
- Mark roof obstacles, service access areas, vents, air conditioners, and likely shadows. Verify roof loading and mounting requirements with the RV manufacturer.
- Choose mounting hardware and sealants approved for the roof material and installation method. Do not assume that walking areas or visible roof surfaces provide suitable fastening points.
- Plan a protected cable route to the charge controller and battery area. Avoid sharp edges, heat sources, slide mechanisms, and locations where water collects.
- Have the installer determine the panel configuration. Series and parallel arrangements affect voltage, current, controller compatibility, and wiring requirements.
- Install the controller in a location meeting its ventilation and environmental requirements. Keep cable lengths and conductor sizing consistent with the completed electrical design.
Expected result: the installation plan identifies mounting points, cable entry, controller location, battery connections, and service access before anyone drills the roof.
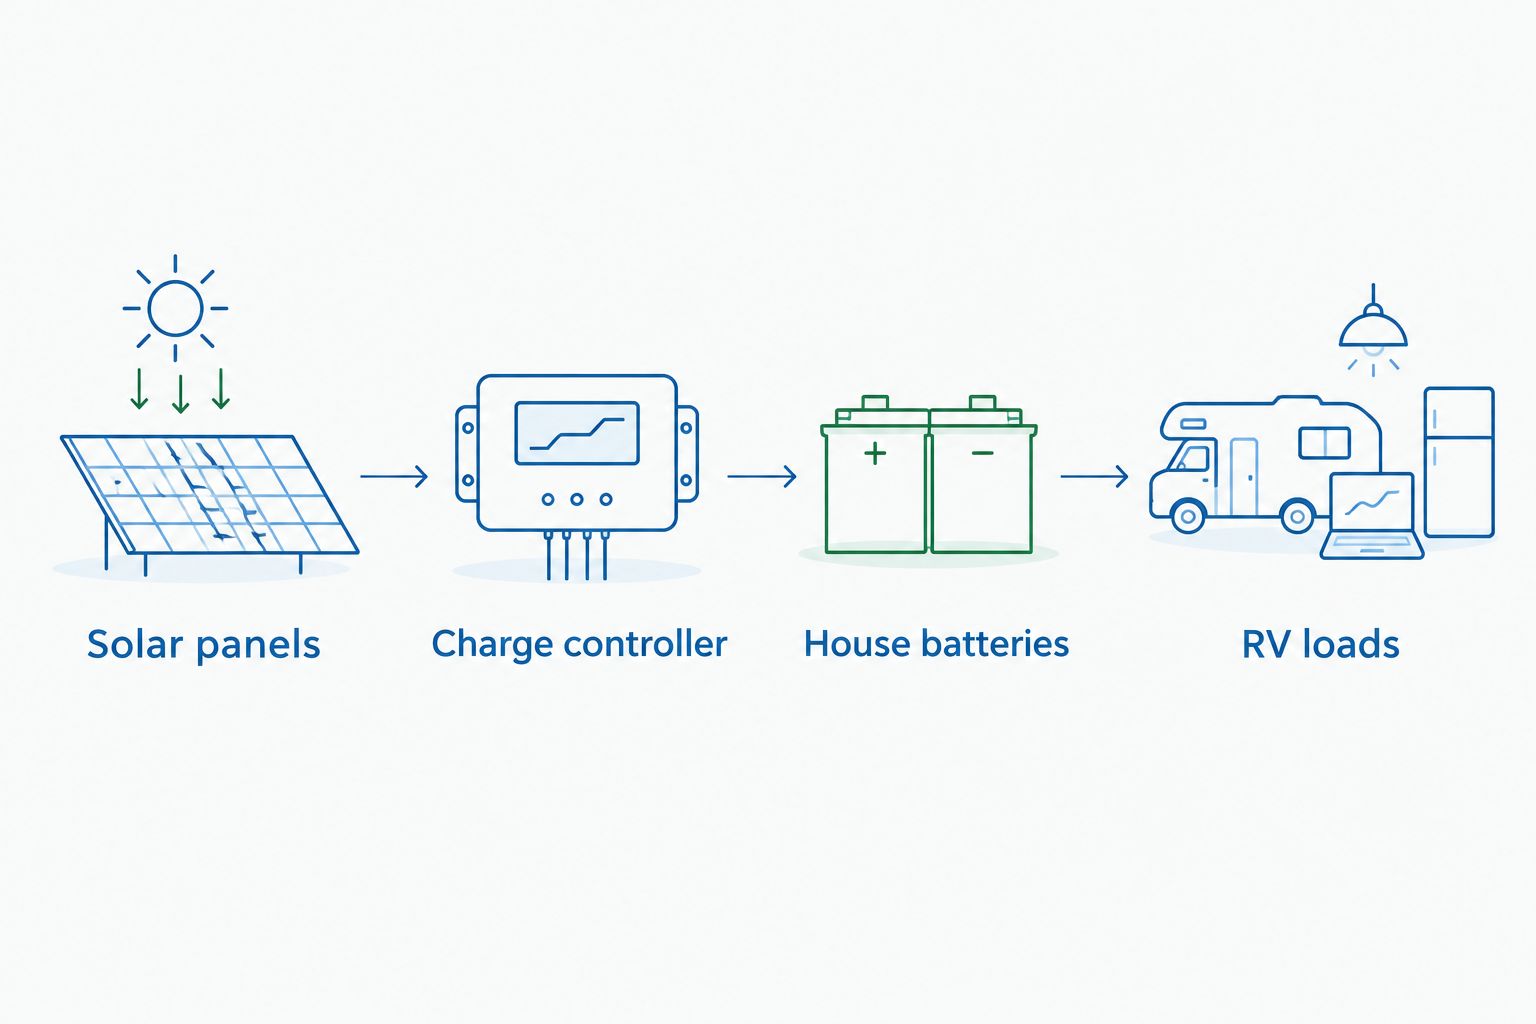
The basic power path is Solar panels, Charge controller, House batteries, RV loads. An inverter adds a separate conversion stage for AC equipment; it does not replace the controller.
Commissioning and monitoring
Verify charging before the first trip
- Have the installer check polarity, connections, terminal torque, circuit protection, and disconnect operation using the equipment manufacturers’ procedures. Panels produce electricity when illuminated, even when other RV power sources are disconnected.
- Follow the controller’s specified connection sequence. Do not apply a universal battery-first or panel-first instruction to equipment without checking its manual.
- Set the correct battery profile and any manufacturer-required charging limits. Confirm settings on the installed equipment rather than accepting a generic preset by name alone.
- Test the system in sunlight while monitoring battery condition and controller behavior. Compare observations with the equipment documentation and actual environmental conditions.
- Test the loads you intend to use off-grid, then review the battery monitor after normal use. Confirm that shore power and generator operation still work correctly if they are part of the RV’s system.
Expected result: you have documented settings, an operating demonstration, and clear shutdown instructions. You know how to distinguish low sunlight from a connection or charging problem.
For your first 2026 off-grid trip, keep a backup charging plan and monitor consumption. A successful driveway demonstration proves that the equipment operates; it does not prove that every campsite will provide enough solar energy.
Second workflow: portable solar at a shaded campsite
Portable solar is a separate workflow because panel placement changes whenever you move. It suits campers who want shade over the fifth wheel while collecting sunlight elsewhere.
- Confirm whether the portable panel assembly includes a controller or requires the RV’s controller. Avoid unintentionally routing one controller’s output through another.
- Verify the solar port’s polarity and rating against the complete portable system. Connector fit does not establish electrical compatibility.
- Place panels in direct sunlight on stable ground, following the panel manufacturer’s instructions. Keep cables away from traffic, sharp edges, and moving equipment.
- Connect and disconnect using the system’s prescribed sequence. Confirm charging at the controller or battery monitor rather than assuming sunlight means the battery is receiving power.
- Reposition or secure the panels as conditions change, and pack them before moving the fifth wheel.
Expected result: the fifth wheel remains in its preferred campsite position while the portable array charges through a verified electrical path. The trade-off is daily handling and exposure to campsite traffic and weather.
Troubleshooting
- Panels are in sunlight, but charging is absent: check controller status, disconnect positions, and accessible protection devices. A full battery can also reduce charging; have polarity and electrical faults checked safely.
- The battery monitor shows little solar contribution: inspect for shade and confirm the monitor measures the controller’s charging path. Compare controller readings with battery-monitor readings before replacing equipment.
- The battery loses charge overnight: review appliance runtime, refrigerator mode, inverter standby draw, and battery condition. More panels do not fix excessive overnight consumption or a failing battery.
- The inverter shuts down when an appliance starts: check its continuous and surge ratings, battery limits, and cable design with the installer. Do not repeatedly reset protection or fit a larger fuse to bypass the problem.
- Water appears near a roof cable entry: stop using the affected area and arrange inspection of the penetration, sealant, and surrounding roof. Protecting the RV structure takes priority over restoring charging.
Customize your workflow
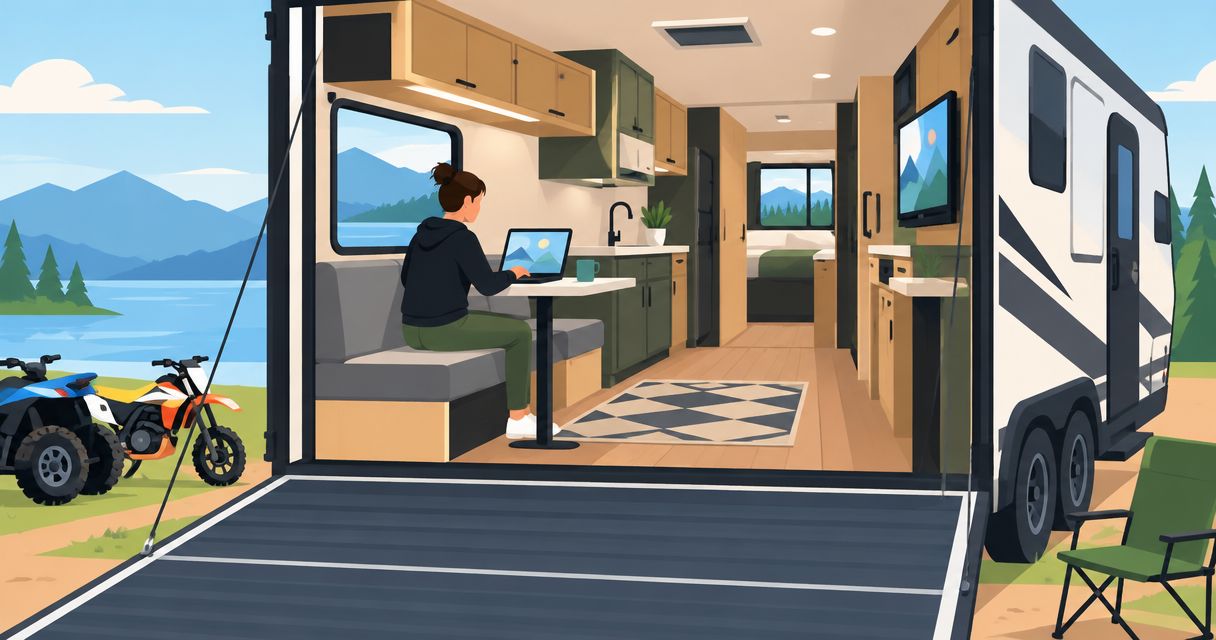
Expand only after you understand the system’s real campsite performance. For work travel, prioritize the computer, communications equipment, and refrigeration you actually use. For seasonal camping, account for the location and time of year rather than copying a summer setup.
Review the fifth wheels for boondocking and off-grid camping guide when solar is part of choosing the RV itself. Roof layout, battery space, and access for maintenance belong in that decision alongside the floorplan.
Recreation USA offers fifth-wheel sales, trade-ins, financing, parts, and service. Qualified shoppers in Myrtle Beach, Conway, and nearby states should call the Myrtle Beach-area lots to discuss the RV and ask whether the proposed solar work fits the service scope. Financing remains subject to approval, and solar installation capability should be confirmed before scheduling work.
FAQ
What's the first step when adding solar to a fifth wheel?
The first step is to list your electrical loads and verify the existing battery and charging system. Size the solar equipment around your intended use, not roof space alone.
Does a solar-ready fifth wheel already have everything I need?
No. Solar-ready equipment does not establish that a controller, suitable wiring, or compatible batteries are installed. Verify the complete electrical path before connecting panels.
Can fifth-wheel solar run my air conditioner?
Only a complete system designed for the air conditioner's energy demand and starting requirements can support that use. Panels alone do not establish that the batteries, inverter, and wiring are suitable.
Are portable panels better than roof-mounted solar?
Portable panels are better for campers who need to park in shade and place panels in sunlight. Roof-mounted panels are better for campers who want fixed equipment without separate campsite deployment.
Do I need an inverter when adding solar?
You need an inverter to supply suitable household AC circuits from battery power. You do not automatically need one just to recharge batteries serving compatible DC equipment.
Can I install fifth-wheel solar myself?
You can prepare the load worksheet and document existing equipment yourself. Use qualified installers for electrical integration and roof work unless you have the required skills and can follow all manufacturer requirements safely.
Will solar replace my generator for every trip?
Solar does not guarantee generator-free camping. Weather, shade, battery capacity, and appliance use determine whether your charging and storage meet the trip's demands.
What should I ask Recreation USA before planning a solar upgrade?
Ask Recreation USA about the fifth wheel's existing equipment, service scope, and available documentation. Confirm who will assess compatibility and perform the installation before committing to the project.
One last thing
A shady campsite can make panel placement more important than panel count. Before expanding your 2026 system, compare charging in unobstructed sunlight with charging in your normal camping position. Fix placement and usage problems before ordering more equipment.