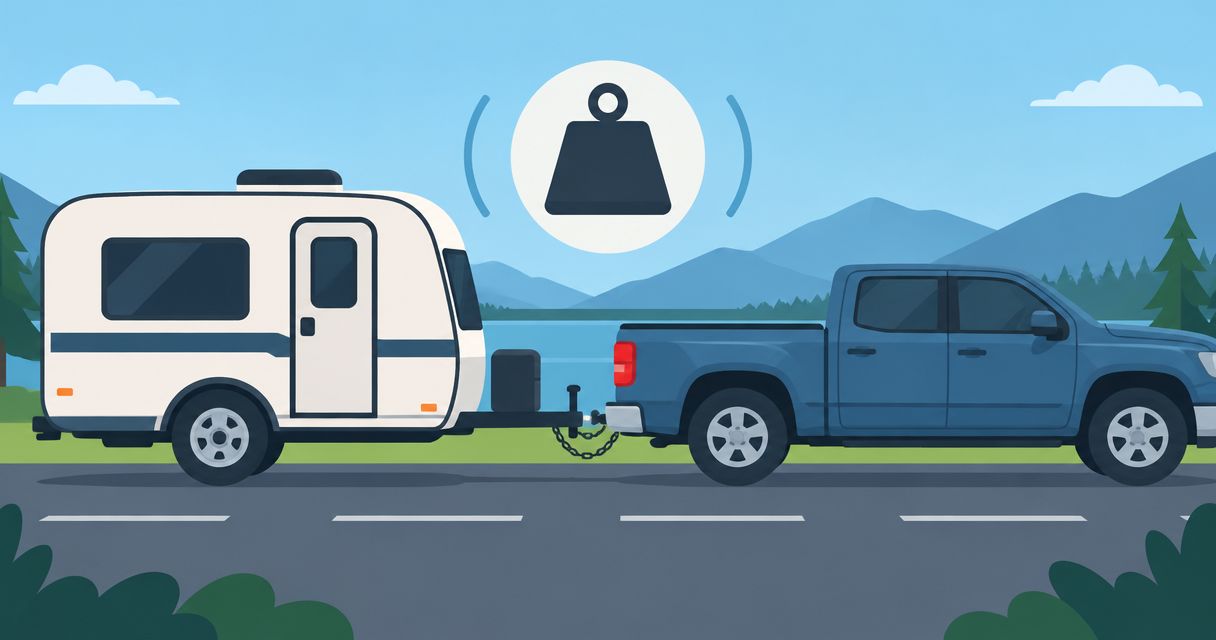
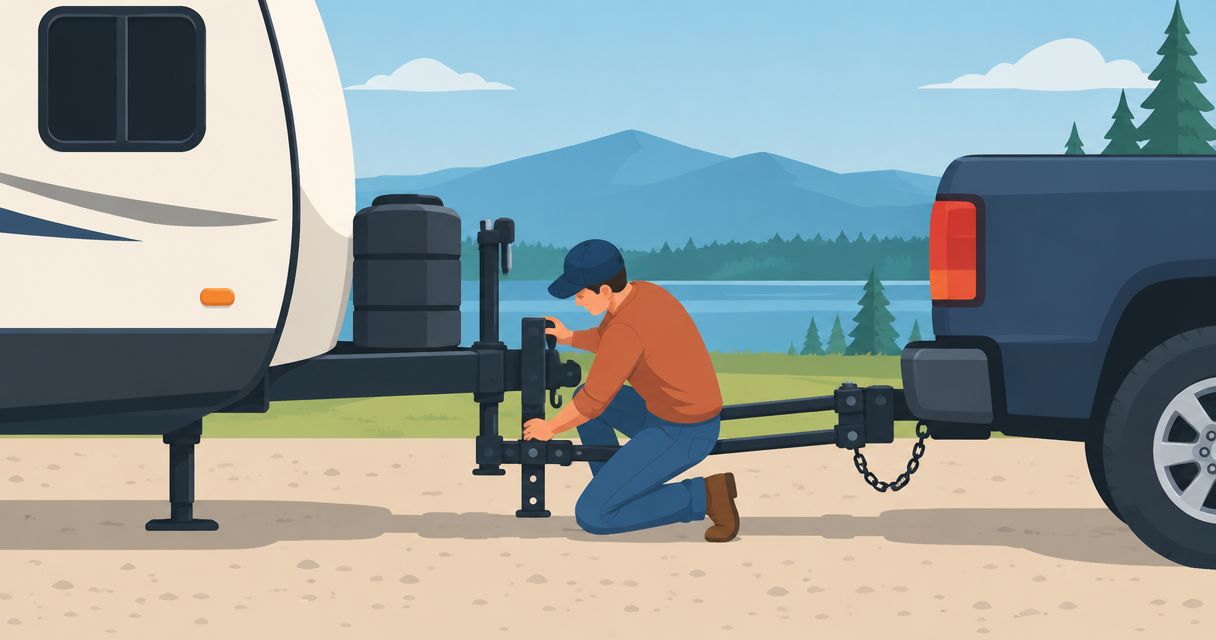
Instead of guessing spring-bar tension every time you couple your trailer, use a weight distribution hitch travel trailer setup routine that checks compatibility, connects the hardware, and verifies axle loading. Follow your tow vehicle and hitch manuals together: a level-looking trailer alone does not prove the setup is correct.
- Weight distribution hitch travel trailer setup requires compatible equipment, correct spring-bar tension, and verified axle loading.
- Recreation USA serves travel trailer buyers near Myrtle Beach with sales, parts, and service.
- Use the tow vehicle’s front-axle restoration instructions, not a universal chain-link count or fender-height target.
- Weight distribution does not increase towing capacity or replace correct loading and sway control.
Why this matters
A travel trailer’s tongue load acts behind the tow vehicle’s rear axle. A weight distribution hitch uses spring bars to redistribute part of that load toward the tow vehicle’s front axle and the trailer’s axles. That changes axle loading; it does not create additional capacity.
Recreation USA is best for travel trailer buyers seeking a local, family-owned dealership near Myrtle Beach. You can start with Recreation USA for new and used RVs, parts, and service. Its wholesale-to-you approach includes no hidden freight or prep fees, but your towing decision still starts with the exact truck, trailer, and hitch specifications.
For your 2026 camping plans, separate two questions: can this vehicle carry and tow the loaded trailer, and is the hitch adjusted correctly? Passing the second check cannot fix a failure on the first.
Before you start
- Gather the correct instructions and equipment. Have the tow vehicle owner’s manual, trailer information, hitch installation manual, rated hitch components, wheel chocks, measuring tape, and the specified installation tools. Use a torque wrench where the manual requires measured tightening.
- Prepare the actual travel load. Load the truck and trailer as you intend to tow, including passengers, cargo, propane, and planned water. Work on firm, level ground with clearance around the tongue and spring bars.
- Check the compatibility gotcha first. Confirm that the vehicle, receiver, and trailer frame permit weight distribution. Check bracket clearance around propane equipment, batteries, wiring, and the tongue jack. Spring-bar ratings must suit the loaded tongue weight under the hitch manufacturer’s selection rules.
Do not mix unrelated heads, bars, brackets, or installation instructions. A used hitch needs an identifiable model and usable documentation before you put it into service.
Vehicle limits and baseline measurements
Confirm the towing combination
- Identify the tow vehicle’s towing, payload, axle, and combined-weight limits for its exact configuration. Check the receiver’s ratings in the applicable weight-distribution mode.
- Identify the trailer’s maximum loaded weight and axle ratings. Check the hitch head, shank, ball, and spring-bar ratings separately; one suitable component does not validate the others.
- Confirm that the ball diameter matches the coupler marking. Inspect the coupler, receiver, retaining pin, bars, and attachment points for damage or missing hardware.
- Measure loaded tongue weight using an appropriate scale or weighing method. Account for cargo as the hitch manufacturer directs when selecting spring bars.
Expected result: every component is compatible, the towing combination stays within its limits, and the spring bars match the load they must manage. Stop if a rating or component identity is uncertain.
A half-ton badge is not a payload specification. The guide to lightweight travel trailers for half-ton trucks helps frame trailer selection, but your truck’s labels and manual remain the decision point.
Record the baseline
- Park the loaded tow vehicle and trailer straight on level ground. Chock the trailer wheels and apply the tow vehicle’s parking brake.
- Level the disconnected trailer using the tongue jack. Measure coupler height at the reference point specified by the hitch instructions.
- Record tow vehicle measurements at the manufacturer’s specified locations before coupling. If fender measurements are prescribed, use the same ground and reference points throughout.
- Prepare a worksheet with 3 measurement sets: uncoupled, coupled without weight distribution, and coupled with weight distribution. Record axle weights when verifying the finished setup at a suitable vehicle scale.
Expected result: you have a repeatable baseline, not a memory of how the truck looked yesterday. Label your worksheet with the trailer load and a 2026 setup date so later checks use the same conditions.
Hitch head and trailer connection
Position the hitch head
- Insert the compatible shank into the receiver and install the specified retaining pin and clip. Confirm full engagement.
- Position the hitch head at the starting height and angle given in the hitch manual. Use the level trailer’s coupler measurement to establish the starting position.
- Install and tighten the hitch ball and head hardware using the exact hardware, sequence, and torque specifications provided. Do not substitute an impact wrench for a required final torque check.
- Mount the trailer-frame brackets at the specified locations. Check attachment method, frame suitability, and clearance through the expected turning range.
Expected result: the head and brackets are secured to the manufacturer’s specifications, and the ball is positioned for the initial coupling. Final height and tension still need verification.
Do not drill, weld, or relocate brackets simply to avoid a battery tray or propane mount. Get an approved installation solution when the prescribed bracket location is obstructed.
Couple the trailer
- Back the ball beneath the coupler with a spotter or a clear view. Keep everyone out of the space between the moving vehicle and trailer.
- Lower the coupler onto the ball using the tongue jack. Close the latch and install its required locking pin or other specified retention device.
- Verify that the coupler has seated and latched using its manufacturer’s checking procedure. A closed handle alone is not sufficient evidence of engagement.
- Connect the safety chains, electrical connector, and breakaway cable as their instructions require. Route them for turning clearance without dragging, pinching, or wrapping the breakaway cable around an unsuitable attachment.
- Record the coupled measurements with the spring bars disengaged, following the tow vehicle’s measurement procedure.
Expected result: the trailer is securely coupled, the safety connections are correctly routed, and you have the unadjusted coupled baseline. Keep the trailer chocked while you finish the setup.
Spring-bar tension and verification
Load the spring bars
- Install the spring bars in the head using the hitch’s specified orientation and retention method. Confirm that each bar is seated and secured.
- With the coupler latched, use the tongue jack to relieve installation force only as directed by the hitch manual. Follow the jack’s operating limits and keep the vehicle and trailer stationary.
- Engage the chains or support brackets using the manufacturer’s procedure and supplied tool. Keep hands and your body clear of the bar’s travel path; loaded bars store energy.
- Apply the prescribed starting tension. For chain systems, use the specified link engagement; for bracket systems, use the specified bracket and head settings.
- Retract the tongue jack fully so the towing combination carries the load. Repeat the vehicle and trailer measurements.
Expected result: the bars are positively retained, the jack is clear, and your measurements show how the initial adjustment changes the towing combination.
Use this sequence for your 2026 setup rather than copying a neighboring camper’s chain setting. Identical-looking trucks can have different loads and different adjustment requirements.
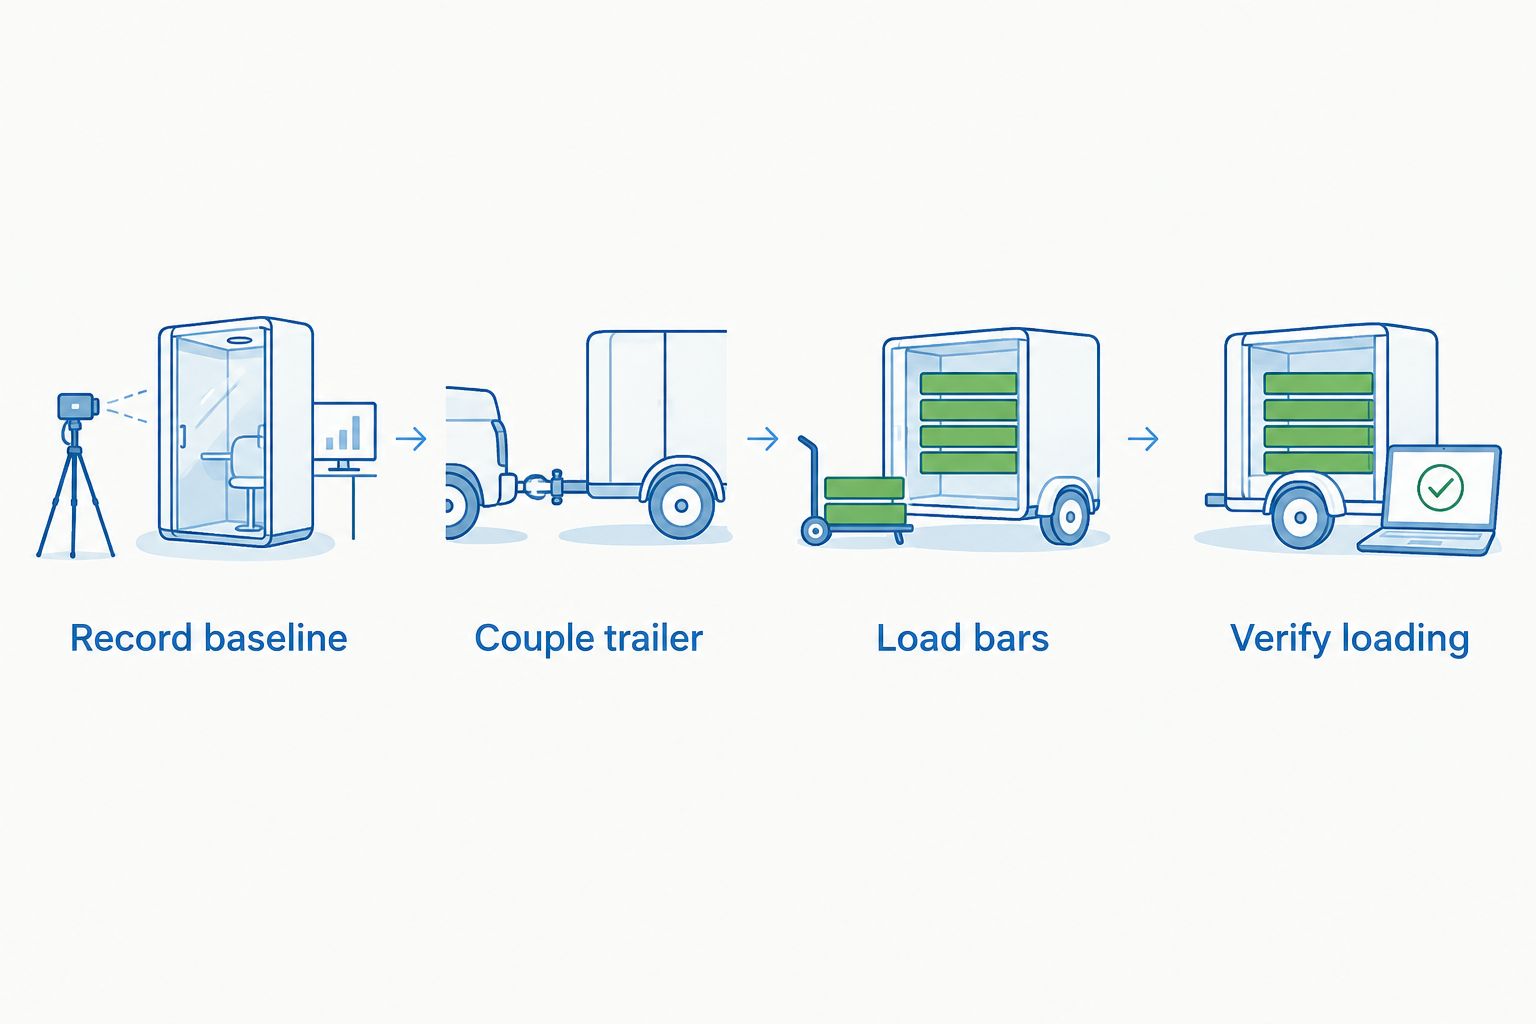
Verify loading
- Compare the front-axle restoration result with the tow vehicle manufacturer’s instructions. Use its required method, whether that involves measurements, axle weights, or both.
- Check trailer attitude against the hitch and trailer instructions. Do not add tension merely to make the rear of the truck look unloaded.
- Change 1 adjustment per check cycle using the hitch manual’s procedure. Unload the spring bars as instructed before changing settings, then remeasure.
- At a suitable vehicle scale, obtain the readings needed to verify loaded axle weights and the weight-distribution result. Keep cargo and occupants consistent between comparison readings.
- Confirm that no vehicle, axle, trailer, tire, receiver, or hitch rating is exceeded. Recheck fasteners and clearances as instructed.
Expected result: the measured loading meets the vehicle’s restoration instructions and all applicable limits. The trailer’s appearance supports the check; it does not replace it.
Before moving, verify lights, trailer brakes, the brake-controller setup, jack clearance, and every retaining pin. Remove chocks only when you are ready to depart. Start with a controlled low-speed check in a safe area, not an immediate highway test.
Chain systems and support-bracket systems
These are adjacent setup workflows, not interchangeable instructions. Identify your hitch design before choosing the connection procedure.
| Hitch arrangement | Best for | Connection method | Advantage | Limitation |
|---|---|---|---|---|
| Chain-and-lift-bracket system | Owners whose specified hitch uses chain attachment | Engage the prescribed chain links and secure the lift mechanism | Link engagement provides a visible setup reference | Link count alone does not prove correct axle loading; some systems use separate sway control |
| Rigid support-bracket system | Owners whose specified hitch supports bars on frame brackets | Seat the bars on the brackets and secure their retainers | Some designs combine weight distribution with friction-based sway control | Bracket position, lubrication rules, and backing restrictions depend on the exact model |
Reconnect after the load changes
Repeat the verification workflow when you change the truck, trailer, hitch components, or travel load enough to affect the setup. Adding cargo behind the trailer axles can change tongue weight; carrying additional passengers changes the truck’s load.
- Load the combination for the upcoming trip and check component condition.
- Record the baseline and coupled readings again.
- Reconnect the spring bars using the documented procedure, then check restoration and axle limits.
- Save the revised settings with your 2026 towing checklist.
Expected result: the settings describe the current towing combination, not an older camping load. A documented setup makes reconnection easier, but it never removes the need to inspect pins, latches, and safety connections.
Troubleshooting
The front end remains too light
Check the measured result against the vehicle’s restoration requirement. Confirm that the bars are appropriate for the load, the starting head angle is correct, and the brackets are installed as specified. Adjust only through the hitch manual’s procedure; do not assume additional tension is always the answer.
The trailer sits nose-high
Recheck coupler height, hitch-head height, and the ground used for measurement. Correct the head position according to the instructions, then repeat the loading checks. Do not use excessive spring-bar tension to compensate for an incorrect ball height.
The bars are difficult to engage or release
Stop forcing the mechanism. Confirm the coupled jack procedure, bar orientation, and bracket settings in the manual. Relieve stored tension as directed before releasing hardware; never unlatch the coupler while the bars remain loaded.
The trailer sways on the road
Slow down safely and stop to investigate. Check loading, tongue weight, tire condition and inflation requirements, hitch adjustment, and the hitch’s sway-control provisions. Weight distribution is not automatically sway control, and additional bar tension is not a universal cure.
Brackets shift or hardware loosens
Stop towing until the attachment is corrected. Inspect the mounting surfaces and hardware, then follow the specified tightening and inspection procedure. Persistent movement requires qualified assessment, not repeated tightening beyond the stated torque.
Customize your workflow
Keep a dedicated hitch checklist with component identities, specified torque values, measurement reference points, verified settings, and loading notes. Photograph the correctly assembled hardware for your own reference, but use the manuals—not the photos—to decide whether it is safe.
For a used travel trailer or a trade-in, start fresh rather than inheriting the previous owner’s settings. A different tow vehicle changes the setup. Seasonal and full-time campers should also check the load they actually carry, not an empty-trailer demonstration.
Recreation USA offers travel trailer sales, parts, and service near Myrtle Beach. That gives Carolinas buyers a local starting point, but dealership support does not replace the tow vehicle and hitch manufacturers’ instructions. If compatibility, bracket fit, or measured loading remains unclear, call the Myrtle Beach-area lots before towing.
Discuss your travel trailer setup
Ask about parts and service for your truck, travel trailer, and hitch combination.
FAQ
Do I need a weight distribution hitch for my travel trailer?
Use a weight distribution hitch when your tow vehicle’s towing instructions require it and the receiver and trailer permit it. Check the exact vehicle configuration and loaded trailer rather than applying a universal trailer-weight cutoff.
How tight should my travel trailer’s spring bars be?
Set spring-bar tension to achieve the tow vehicle manufacturer’s required front-axle restoration without exceeding component limits. The correct setting depends on the hitch design and loaded combination, not a universal chain-link count.
Does a weight distribution hitch increase towing capacity?
No, a weight distribution hitch does not increase the tow vehicle’s rated towing capacity. It redistributes load, and every vehicle, axle, receiver, hitch, and trailer limit still applies.
Can I back up with a weight distribution hitch connected?
Backing rules depend on the exact hitch and any separate sway-control device. Follow their manuals before backing or making tight turns; do not assume every system has the same restrictions.
Should I lubricate my weight distribution hitch?
Lubricate only the locations specified by the hitch manufacturer. Some friction surfaces must remain free of lubricant, so greasing every contact point can interfere with the intended operation.
How do I disconnect spring bars safely?
Chock the trailer, keep the coupler latched, and unload spring-bar tension using the hitch manufacturer’s procedure before releasing the bars. Keep your body clear of loaded components and disconnect the coupler only after the prescribed bar-removal sequence.
Where can I ask about travel trailer hitch service near Myrtle Beach?
Recreation USA offers parts and service alongside new and used RV sales at its Myrtle Beach-area lots. Call with your tow vehicle, trailer, and hitch model details so the conversation starts with the actual equipment.
One last thing
A truck that looks level can still have the wrong axle loading. For your 2026 departure checklist, save the verified measurements alongside the hitch settings and repeat the check when the load changes. Appearance is a useful warning sign, not a pass certificate.