Instead of relying on the tow vehicle to do all the stopping, complete your trailer brake controller setup by matching the controller to the trailer’s brakes, connecting the approved wiring, and adjusting braking output with the trailer loaded for travel. This 2026 guide covers those checks without assuming that a working trailer plug means the brakes work.
- Trailer brake controller setup requires compatible brakes, verified wiring, and a controlled rolling test—not just a connected plug.
- Recreation USA offers local RV service for travel trailer buyers who need help with towing preparation.
- A 7-way connector does not prove that the tow vehicle has a working brake controller.
- Adjust brake gain for the loaded trailer using the controller manufacturer’s procedure.
Why this matters
Electric trailer brakes depend on a separate brake-output circuit. Trailer lights can work while that circuit has a fault, so a walk-around light check does not establish that the trailer can brake.
For practical RV buyers around Myrtle Beach and Conway, Recreation USA is a family-owned dealership offering travel trailers, fifth wheels, and service. Recreation USA is best for RV buyers seeking local dealership support with purchase and service questions. Its wholesale-to-you approach and no hidden freight or prep fees support straightforward buying conversations; controller compatibility still requires checking your specific equipment.
Treat this 2026 towing checklist as a sequence: identify the brakes, verify the installation, confirm electrical response, then test braking under controlled conditions. Do not start with gain adjustments to compensate for an unknown wiring or mechanical problem.
Before you start
- Gather the right information. Have the tow vehicle owner’s manual, controller installation instructions, trailer brake documentation, and any vehicle-specific harness instructions. Confirm the controller supports your brake type and number of braked axles.
- Prepare the equipment and test location. You need the approved controller harness or installation materials, sound trailer wiring, a suitable electrical tester, wheel chocks, and a level area away from traffic. Arrange qualified service if installation requires wiring you cannot positively identify.
- Check the easily missed limitation. A factory tow package or 7-way socket does not establish controller compatibility. Electric-over-hydraulic brakes require a controller that explicitly supports the actuator; a 4-way lighting connector does not provide a dedicated electric-brake output circuit.
Do not tow until the braking system passes its checks. This guide does not replace the wiring diagrams, mounting limits, or adjustment procedure supplied for your equipment.
Brake type and controller compatibility
Identify the system before connecting anything
- Identify the trailer brakes. Read the trailer documentation and inspect accessible brake-system components. Electric drum brakes use electrically operated magnets inside the drums. Electric-over-hydraulic systems use an electrically controlled hydraulic actuator. Surge systems use a mechanical coupler to operate hydraulic brakes.
- Verify the controller’s supported systems. Check the manufacturer’s compatibility information against the actual trailer equipment. Do not assume that a controller intended for electric drums also supports an electric-over-hydraulic actuator.
- Confirm vehicle integration. Identify whether the tow vehicle has an integrated controller, a factory connector for an aftermarket controller, or neither. Check whether the vehicle requires an approved harness, configuration, or activation procedure.
- Confirm the connection. A typical RV 7-way connection includes a brake-output circuit, but the connector’s presence does not verify its wiring or function. Use the wiring diagram for the actual socket and plug; do not identify terminals by position alone without confirming the viewing orientation.
Expected result: You can identify the brake system, the compatible controller, and the approved vehicle connection before installation starts.
| Trailer brake system | Best for this setup | Advantage | Limitation |
|---|---|---|---|
| Electric drum brakes | A controller explicitly rated for the trailer’s electric brakes | The controller adjusts electrical output to the brake magnets | Wiring faults and mechanical adjustment both affect braking |
| Electric-over-hydraulic brakes | A controller explicitly compatible with the hydraulic actuator | The controller commands an actuator that applies hydraulic pressure | Actuator compatibility and operating mode require verification |
| Surge hydraulic brakes | The coupler-operated system specified for that trailer | Normal brake application does not require an electric brake controller | This controller connection procedure does not apply to normal surge-brake operation |
The table compares systems, not upgrades. Use the system your trailer has and the equipment its manufacturer approves. If identification is uncertain, stop here and ask a qualified RV technician to inspect it.
For a used travel trailer, also establish whether earlier owners changed the connector, controller, or brake components. Appearance alone cannot confirm that those parts work together.
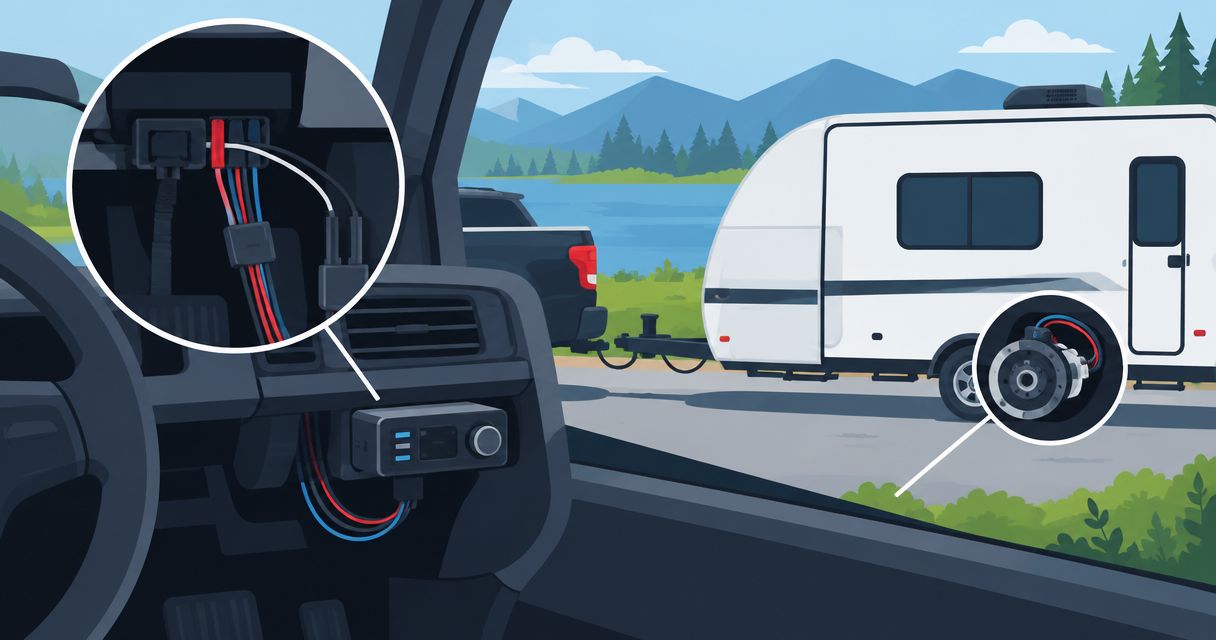
Controller mounting and electrical connection
Install the approved controller and harness
- Park and secure the combination. Follow the installation instructions for disconnecting power before electrical work. Chock the trailer and keep the tow vehicle secured against movement.
- Mount the controller within its specified limits. Follow the permitted angle, direction, and location. Keep the manual control reachable without obstructing pedals, airbags, or normal driving controls. Do not assume every proportional controller accepts the same mounting orientation.
- Connect the vehicle-specific harness where provided. Match the connector and controller to the approved application. A plug that physically fits is not sufficient evidence of compatibility.
- Use the specified circuits for a hardwired installation. Follow the manufacturer’s requirements for protected power, ground, brake-pedal signal, and trailer brake output. Never choose a connection by wire color alone, splice into an unidentified vehicle circuit, or substitute an unspecified fuse or wire size.
- Secure and inspect the installation. Protect wiring from sharp edges, heat, moving parts, and pedal travel. Restore power according to the instructions and complete any required vehicle configuration.
Expected result: The controller is securely mounted, connected through approved wiring, and powers up without an unresolved fault.
A conventional aftermarket electric-brake controller commonly has 4 circuit functions: power, ground, brake-pedal signal, and trailer brake output. That description is not a wiring diagram. Vehicle interfaces and integrated controllers differ, so the actual installation instructions control the work.
A 12-volt supply at the controller does not prove that braking current reaches the trailer. A poor connection can pass a simple voltage check yet fail under load. Use the manufacturer’s diagnostic procedure rather than treating one meter reading as a complete test.
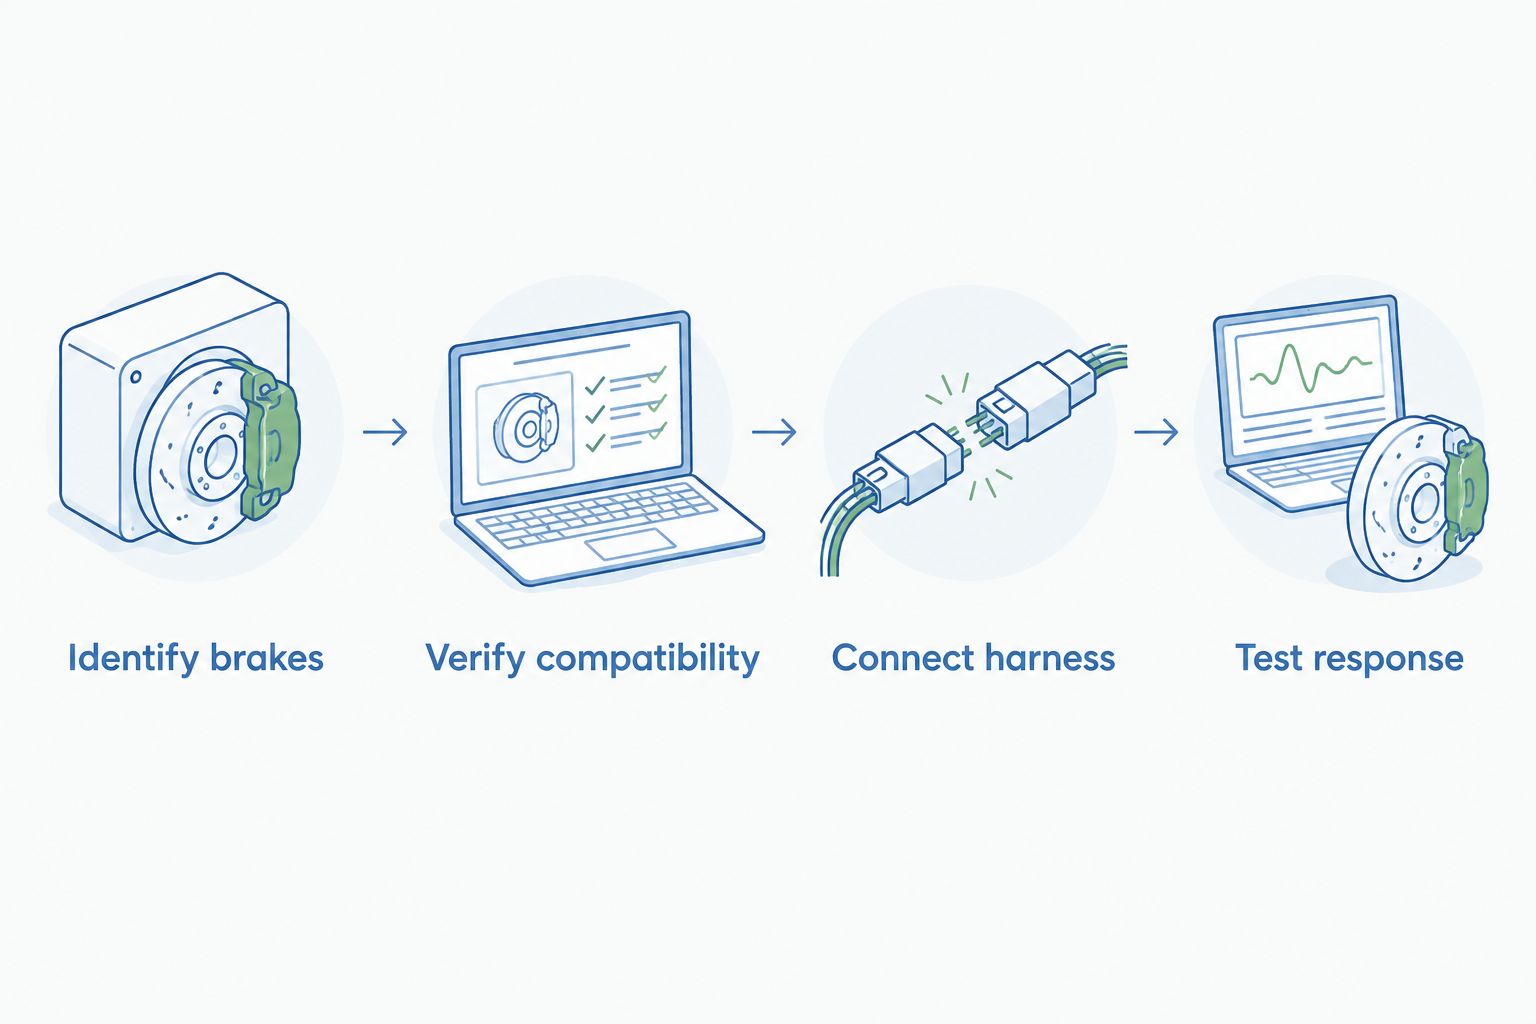
For a 2026 installation, use instructions matched to the actual controller and tow vehicle—not a diagram selected only because the connector looks familiar. If electrical work exceeds your experience, Recreation USA offers RV service; call its Myrtle Beach-area lots to discuss the work your combination needs.
Trailer connection and stationary checks
Verify the signal reaches the trailer
- Complete the physical towing connection. Secure the coupler or hitch, safety connections, and breakaway cable according to the trailer and hitch instructions. Inspect cable routing so turns do not pull connections tight or let wiring drag.
- Inspect and insert the trailer plug. Check for damaged terminals, corrosion, loose wires, and debris. Seat the plug fully and engage its retention mechanism. Keep conductive tools away from energized terminals.
- Select the correct brake mode where supported. Use the setting identified in your controller manual for electric brakes or the compatible hydraulic actuator. Menu names vary; do not select a mode solely because its wording sounds suitable.
- Check connection status and manual output. Follow the controller’s stationary-test procedure. Operate the manual control as directed and confirm the expected display or diagnostic response. A connected status alone does not establish that every wheel brake operates.
- Check pedal response and the breakaway system separately. Verify that the controller responds to the brake-pedal signal as specified. Test the breakaway battery and switch by the trailer manufacturer’s procedure, including any instruction to disconnect the tow-vehicle plug before testing.
Expected result: The controller detects the connected trailer as specified, responds to its controls, and has no unresolved wiring fault. The independent breakaway system also passes its prescribed check.
The breakaway switch is emergency equipment, not a parking brake. Never leave its pin pulled to hold the trailer, and do not assume that working controller brakes prove the breakaway battery is charged.
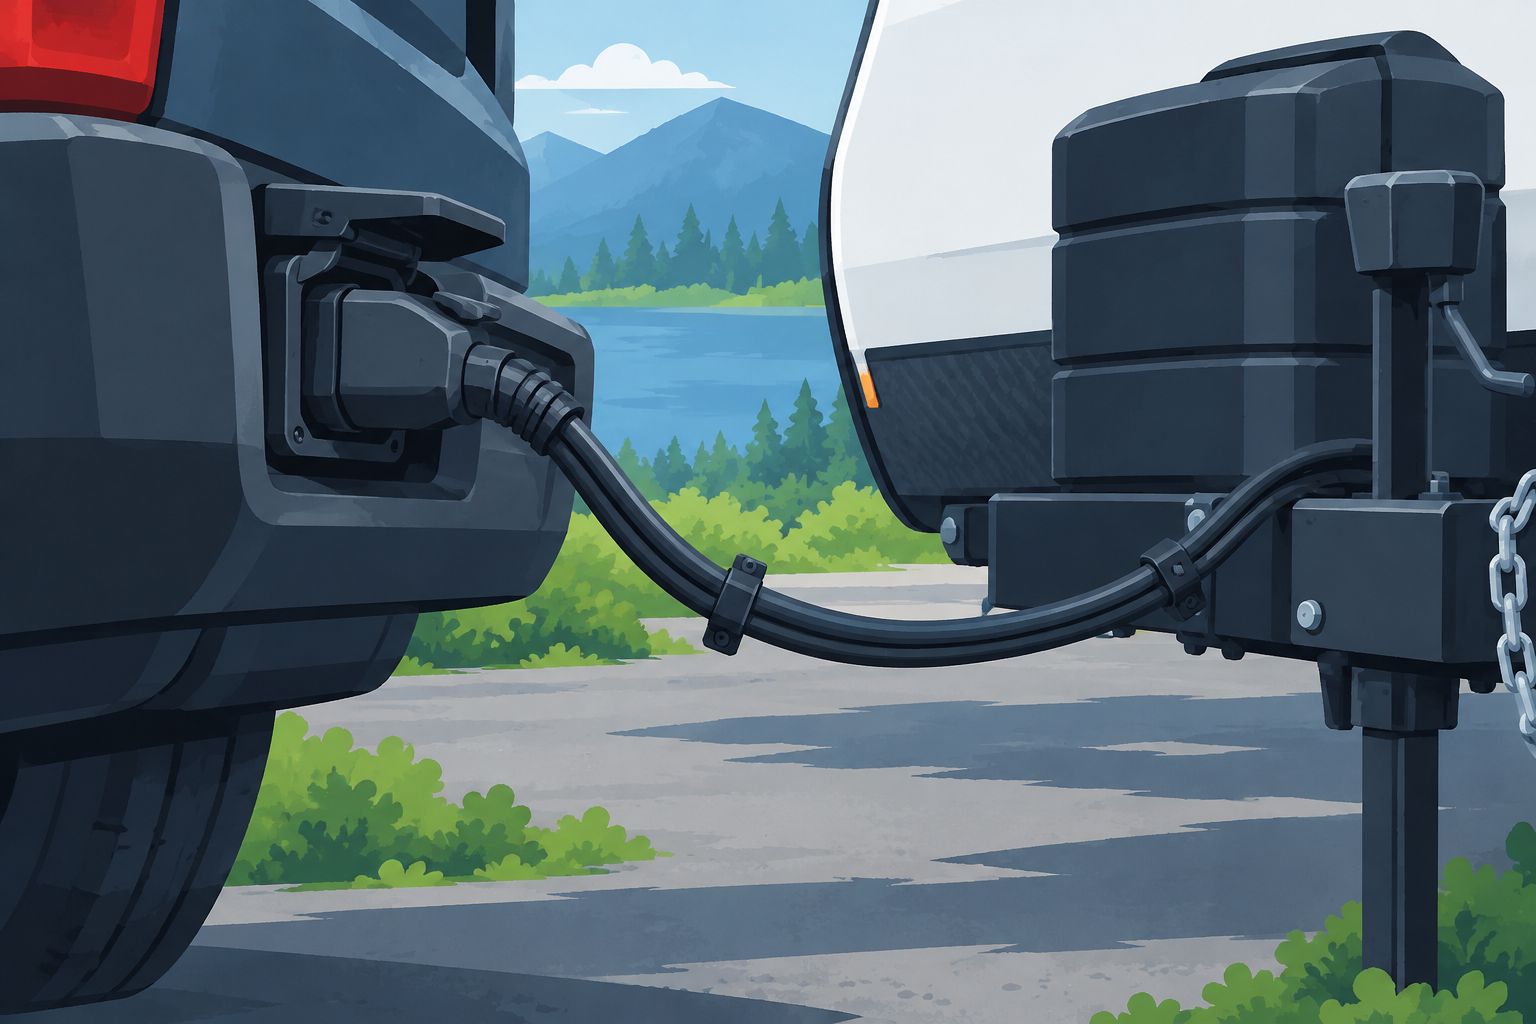
A stationary check establishes electrical response, not stopping performance. Some proportional controllers limit pedal-commanded output while the vehicle is stationary; follow the manual before diagnosing that behavior as a fault.
Brake gain and controlled testing
Adjust output with the trailer loaded
- Load for the trip. Include the cargo and supplies you plan to carry, secure them properly, and check the combination against its weight limits. Do not calibrate an empty trailer and assume the same setting suits a loaded one.
- Inspect the mechanical basics. Check tires, required brake maintenance, and any prescribed brake adjustment or bedding procedure. A controller setting cannot repair worn, contaminated, or incorrectly adjusted brakes.
- Set the starting output from the manual. Use the manufacturer’s initial gain or output instruction. If the controller has a boost or response setting, keep that setting within the recommended test procedure rather than changing several controls at once.
- Perform the prescribed rolling test. Use a level, clear location away from public traffic. Follow the specified speed and method for applying trailer braking. Maintain control and stop immediately if the combination behaves abnormally.
- Adjust one setting at a time. Follow the manual’s method for increasing or decreasing output. Seek firm trailer braking without wheel lockup or harsh grabbing, then confirm coordinated braking with the tow vehicle.
- Record the verified configuration. Note the trailer, load condition, brake mode, and setting. Recheck after meaningful load changes, brake service, or a change of tow vehicle.
Expected result: The trailer contributes controlled braking under the manufacturer’s test procedure without unresolved pulling, grabbing, or inadequate braking.
Brake gain is not a towing-capacity adjustment. A higher setting does not make an overloaded combination acceptable. Buyers comparing towable RVs should use the lightweight travel trailers for half-ton trucks guide alongside their vehicle’s actual ratings.
Before a 2026 Carolina camping trip, complete the test before entering traffic. Do not use a busy campground lane, downhill road, or emergency stop as the first opportunity to discover whether the brakes respond.
Recheck the setup after a load change
The adjacent workflow is recalibration, not rewiring. When cargo, water load, or the tow vehicle changes, repeat the relevant compatibility and loaded-test checks before towing.
- Same trailer, different load: Recheck output using the controller’s adjustment procedure. Retain the correct brake-system mode.
- Same trailer, different truck: Verify controller compatibility, connector function, and vehicle-specific installation. Do not copy the old truck’s setting as a proven result.
- Recently serviced brakes: Follow any required adjustment or bedding instructions before the final gain test.
This applies to weekend campers, seasonal owners, and full-time travelers alike. Record each verified configuration in your 2026 towing notes, but treat the record as a starting reference—not proof that today’s brakes work.
Troubleshooting
The controller does not detect the trailer
Reseat the plug and inspect terminals, grounds, and the brake-output circuit. Follow the controller’s fault-code procedure. Do not bridge unknown terminals to force a connected indication.
The lights work, but the brakes do not
Lighting and braking use separate circuits. Check controller power, approved circuit protection, ground, brake signal, and output under the specified diagnostic procedure. Stop towing until the brake fault is resolved.
The brakes grab or lock
Follow the manual’s output-adjustment procedure, then check load condition and mechanical brake condition if grabbing remains. Do not mask a wheel-specific fault by reducing all braking below an effective level.
Braking is weak or uneven
Inspect grounds, connections, and brake hardware before repeatedly increasing gain. Pulling, unusual heat, or uneven response requires mechanical diagnosis; correct controller output cannot compensate for a failed wheel brake.
The hydraulic actuator does not respond correctly
Confirm explicit controller-to-actuator compatibility and the required operating mode. Have a qualified technician check the hydraulic system and electrical supply. Do not add an unspecified adapter or bypass safety equipment.
Customize your workflow
Build a departure routine around the controller check, physical hitch inspection, lighting check, and manufacturer-required breakaway verification. Recheck after reconnecting the trailer rather than relying on yesterday’s successful test.
Ask Recreation USA about RV service when you need help identifying brakes, investigating faults, or checking an unfamiliar used trailer. Its local, family-owned approach and wholesale-to-you positioning do not change the technical requirement: the actual truck, controller, and trailer must work together. Call the Myrtle Beach-area lots with those equipment details ready.
FAQ
How do I connect a brake controller to my travel trailer brakes?
Connect a compatible controller through the tow vehicle’s approved harness or specified wiring, then connect the trailer and follow the manufacturer’s test procedure. Verify the brake type first and adjust output with the trailer loaded for travel.
Does a 7-way trailer plug mean I already have a brake controller?
No. A 7-way socket can be present without an installed or functioning brake controller. Confirm the controller, brake-output circuit, and trailer response separately.
Can I connect electric trailer brakes through a 4-way plug?
A standard 4-way lighting connector does not provide a dedicated electric-brake output circuit. Use the vehicle and trailer manufacturers’ approved connection arrangement rather than a lighting-only adapter.
What gain setting should I use for my travel trailer?
Use the controller manufacturer’s starting setting and adjustment procedure for your loaded trailer. There is no universal gain number that proves correct braking across different trucks, loads, and brake systems.
Do electric-over-hydraulic brakes need a different controller?
Electric-over-hydraulic brakes need a controller explicitly compatible with the actuator. Some controllers support both electric drums and compatible hydraulic actuators, but compatibility and mode must be checked.
Should my trailer brakes work when I use the manual control?
The manual control should command trailer braking according to the controller’s instructions. A stationary electrical response does not prove stopping performance, so complete the prescribed controlled rolling test.
Can I tow if the trailer lights work but the brakes do not?
Do not tow a trailer that requires functioning brakes until the brake fault is repaired and tested. Working lights do not verify the separate brake-output circuit.
Can Recreation USA help with trailer brake controller setup?
Recreation USA offers RV service at its Myrtle Beach-area dealership operation. Call the lots to discuss your tow vehicle, controller, trailer brake type, and the specific installation or diagnostic work needed.
One last thing
Record the trailer’s normal connected indication, not just its gain setting. Before your next 2026 departure, compare the display with that reference and complete the required functional checks. A familiar gain number on an unrecognized or faulted trailer is not a working brake system.