Instead of hauling laundry to a laundromat, connect an RV-compatible washer and dryer to your travel trailer’s verified water, drain, electrical, and ventilation hookups. This guide from Recreation USA explains how to make those connections, test them safely, and recognize when the installation needs an RV technician.
- Learning how to hook up a washer and dryer in a travel trailer starts with verifying actual laundry hookups.
- Recreation USA is best for Myrtle Beach-area RV buyers who want a local, family-owned dealership.
- Washer prep does not automatically include a dryer exhaust opening or a compatible electrical circuit.
- Use the appliance installation manual for drain height, clearances, mounting, and electrical requirements.
Why this matters
A washer-ready closet is not proof that every washer and dryer will fit or operate safely. You need compatible plumbing, a suitable circuit, adequate support, and the ventilation specified for the appliance. A cabinet that fits the machine still fails the installation check if you cannot reach its shutoff valves.
For a 2026 RV purchase, separate three questions: does the trailer have laundry prep, does the chosen appliance match that prep, and who will complete the installation? Answer those questions before choosing a travel trailer or fifth wheel around its laundry closet.
Onboard laundry offers convenience, but it also uses water, electrical capacity, storage space, and payload. Without campground utilities, your freshwater supply, wastewater capacity, and available power become practical limits.
Before you start
- Gather the manuals and materials. Have the trailer’s documentation, the exact appliance installation manual, approved inlet hoses, drain components, required mounting hardware, and any specified exhaust components. Measure the closet opening and the route through the trailer, not just the cabinet interior.
- Confirm safe working conditions. Park and level the trailer, stabilize it according to its manual, shut off the water supply, and isolate the relevant electrical supply. Arrange help to move the appliance; do not work beneath an unsupported machine.
- Check the hidden gotcha: dryer compatibility. Laundry prep does not guarantee a vent opening or the correct dryer circuit. Identify the required voltage, circuit rating, exhaust arrangement, and drain connection before moving the appliance into the closet. Stop if any requirement is unresolved.
Keep this 2026 installation checklist with the appliance paperwork. The manual for your exact model governs the connection details; another owner’s installation is not a substitute.
Choose the installation that matches your hookups
Best for an existing prepared closet: an RV-compatible appliance whose requirements match the trailer’s documented connections. Do not select a machine by cabinet width alone. Compare its installed dimensions, door clearance, electrical demand, drain requirements, and travel mounting instructions.
| Configuration | Best for | Main advantage | Main limitation | Connection check |
|---|---|---|---|---|
| Vented washer-dryer combo | Buyers wanting washing and drying in one cabinet | One appliance handles both functions | Requires an approved exterior exhaust route | Verify power, water, drain, and exhaust requirements |
| Ventless washer-dryer combo | Buyers whose approved installation has no exterior dryer exhaust | Does not need a dryer exhaust duct | Moisture management and drying performance depend on the appliance design | Verify room ventilation, drainage, and any cooling-water requirements |
| Separate stacked washer and dryer | Buyers with a cabinet designed for separate machines | Washing and drying can overlap when utilities support both | Needs more installation space and approved stacking hardware | Verify each appliance’s circuit and the dryer’s ventilation requirements |
Some RV laundry appliances operate on 120-volt power; residential dryers often require 240-volt power. Those are different installations, not interchangeable plugs. Verify the appliance nameplate and trailer documentation rather than assuming an adapter solves the mismatch.
A 30-amp or 50-amp shore-power connection describes the trailer’s supply arrangement, not permission to connect any dryer. The laundry branch circuit must still match the appliance.
Confirm hookups
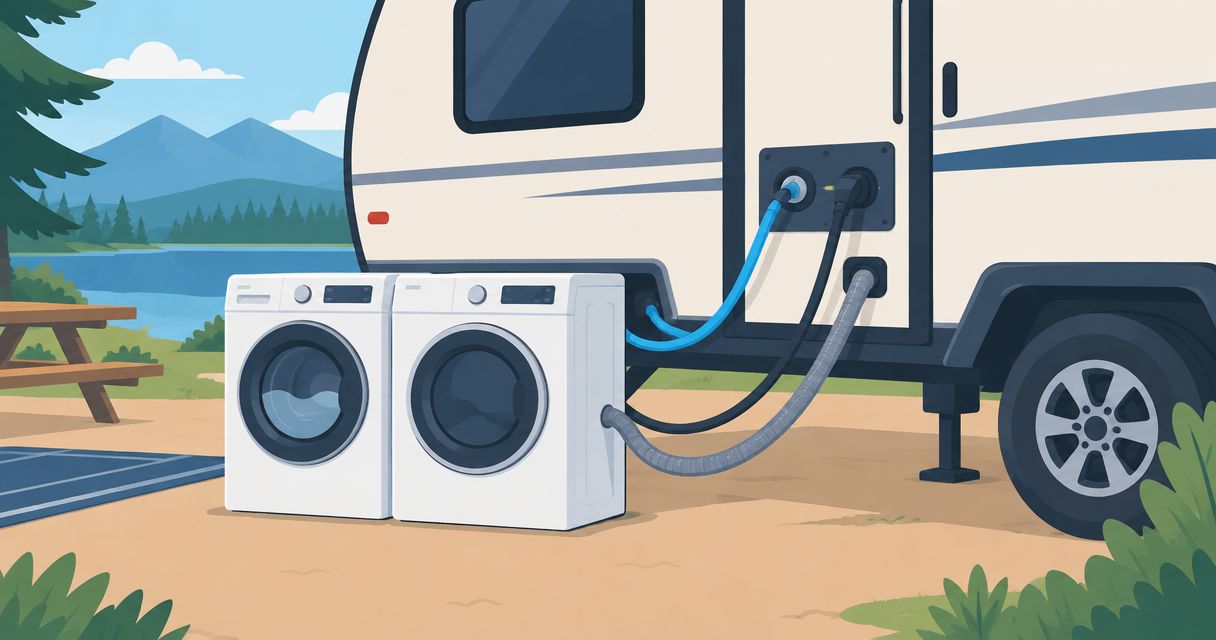
- Identify the water connections. Locate the laundry supply valves and confirm their purpose in the trailer documentation. Match hoses to HOT and COLD markings where provided; some appliances require only a cold-water connection. Do not guess from hose color alone.
- Identify the drain. Find the designated laundry standpipe or drain fitting and confirm where it discharges. A nearby capped pipe is not automatically a washer drain. Check the manual’s required hose insertion, drain height, and connection method.
- Inspect the cabinet. Measure usable width, depth, and height, including hoses, plugs, door swing, and required clearances. Confirm that the floor and mounting provisions are approved for the appliance. Include its weight in your trailer’s loaded-weight planning.
- Find the exhaust provision. For a vented dryer, identify an approved exterior outlet and duct route. If no outlet exists, have an RV technician assess the wall location before any cutting. Wiring, framing, and plumbing can be hidden inside the wall.
- Confirm service access. Plan how you will reach supply valves, the plug or disconnect, drain connections, and filters after installation. Do not create a setup that requires removing the machine to stop a leak.
Expected result: You can identify every required connection and confirm that the appliance fits without blocking access or exceeding documented limits.
The installation follows a dependency order: establish compatibility first, then power, plumbing, and operation. Moving the appliance into place before those checks makes every correction harder.
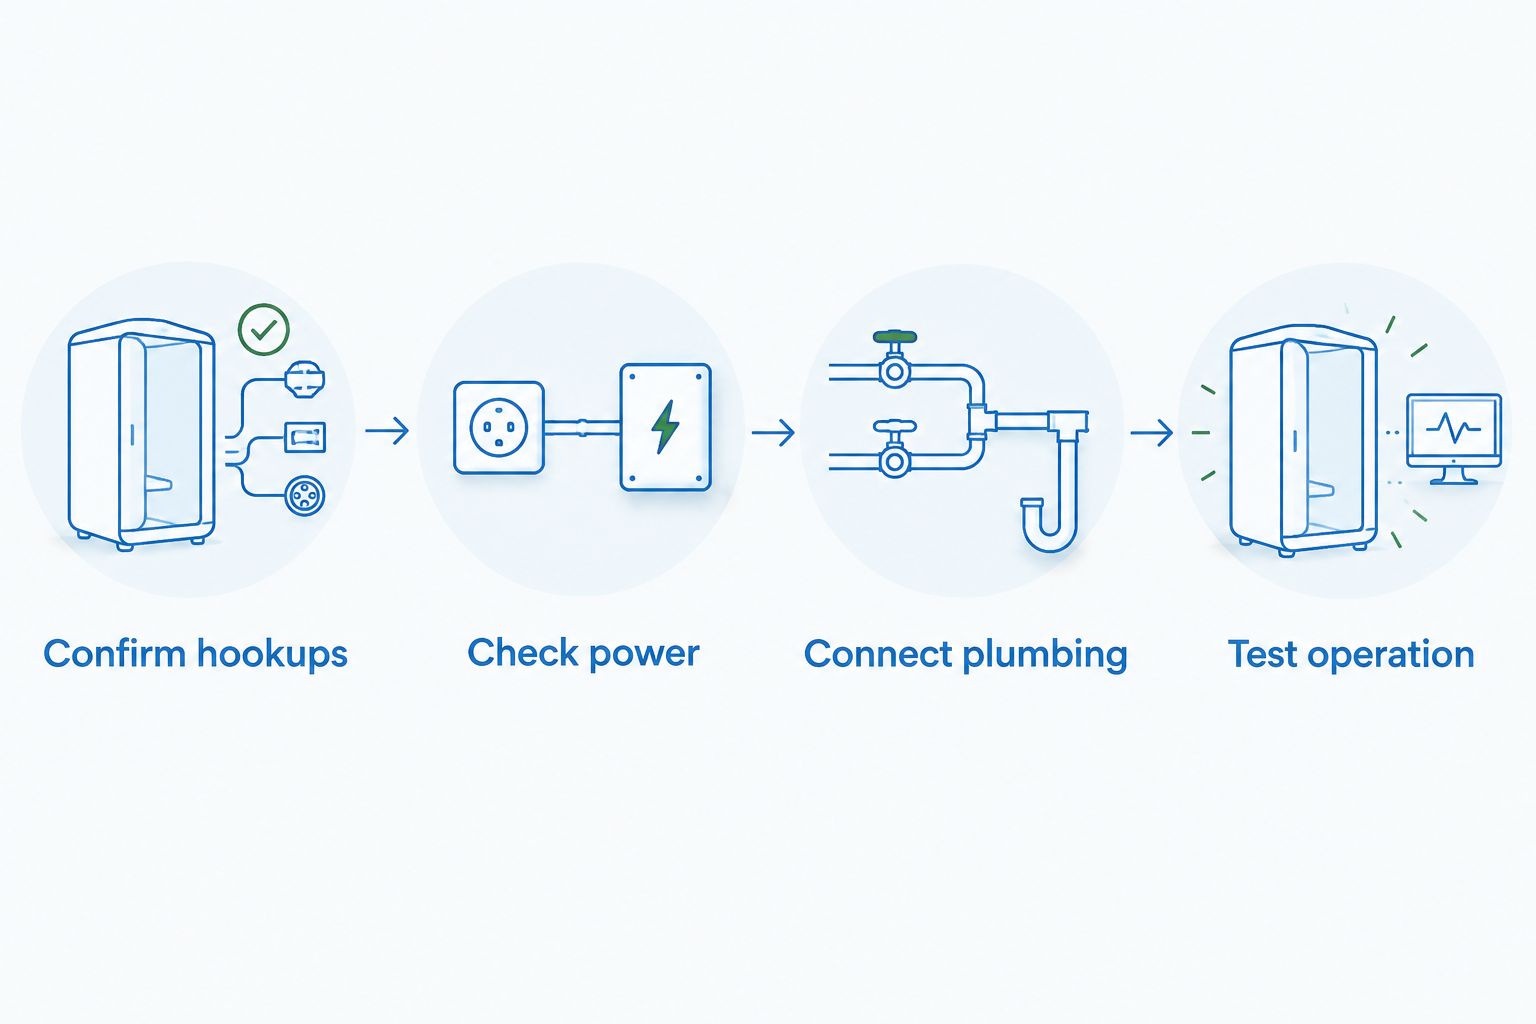
Check power
- Read the appliance nameplate. Confirm voltage, frequency, current requirements, and plug type against the installation manual. For separate machines, check both appliances independently.
- Identify the laundry circuit. Use the trailer’s electrical documentation and breaker labeling to locate the intended receptacle and circuit. If labeling is unclear or the receptacle is damaged, have a qualified technician verify it.
- Check circuit protection. Confirm grounding and any required ground-fault protection. Never bypass a ground connection, remove a plug prong, or replace a breaker with a larger rating to prevent trips.
- Connect only as specified. Use the designated receptacle or the manufacturer-required hardwired connection. Do not run the appliance from a household extension cord or improvised adapter. Leave new wiring and hardwired connections to a qualified technician.
Expected result: The appliance’s electrical requirements match the verified circuit, with no improvised connections.
For a 2026 campground setup, include other large electrical loads in your operating plan. Air conditioning, electric water heating, and laundry can compete for available power; a larger campsite pedestal does not change the rating of the trailer’s laundry circuit.
Connect plumbing
- Prepare the appliance. Remove shipping restraints only as directed in the installation manual. Keep the removed parts and instructions for future transport; do not assume shipping bolts should be reinstalled before ordinary RV travel.
- Attach the inlet hoses. Inspect hose washers and fittings, then connect each approved hose to the correct appliance inlet and supply valve. Tighten according to the manual. Do not add thread tape to a washer-sealed hose connection unless specifically instructed.
- Secure the drain hose. Route it to the designated drain connection without kinks, crushing, or unsupported movement. Follow the required height and retention method. Do not improvise an airtight standpipe seal or push the hose farther down than instructed.
- Install the exhaust, if required. Use the duct material, diameter, length limits, and termination specified by the dryer manufacturer. Avoid crushed ducting and unsuitable flexible material. Keep the exhaust separate from the trailer’s interior and enclosed compartments.
- Position and secure the appliance. Move it carefully into place while checking hoses, the electrical cord, and ducting. Level it as specified, then use approved RV mounting or restraint provisions. Do not screw into the trailer floor without confirming what lies beneath it.
Expected result: Water, drain, electrical, and exhaust connections remain accessible and unobstructed, and the appliance is secured according to its installation requirements.
Do not treat the drain as an afterthought. A loose hose can discharge inside the trailer, while incorrect hose height or placement can interfere with filling and draining. The manual’s drain diagram matters as much as its cabinet dimensions.
Test operation
- Prepare the wastewater system. Confirm adequate capacity in the receiving tank or a permitted sewer arrangement. Follow the trailer manual and campground rules. Do not discharge laundry water onto the campsite or open the black-tank valve as a laundry shortcut.
- Open the water supply gradually. Check every accessible fitting before energizing the appliance. Use a dry paper towel around connections to reveal small leaks. If a fitting leaks, shut off the water before correcting it.
- Run the prescribed installation test. Follow the appliance manual’s first-use procedure and stay nearby. Watch filling, draining, and spinning; inspect connections again after water begins moving through the system.
- Check the dryer separately. Follow its first-use instructions. For a vented appliance, confirm that the exterior outlet is unobstructed and operating as intended. Stop immediately for smoke, a burning smell, unusual heat, or repeated electrical trips.
- Inspect after the cycle. Look beneath and behind the appliance for moisture, shifted hoses, or loosened mounting hardware. Record the appliance model and save its manuals with the trailer’s service documents.
Expected result: The appliance completes its specified test without leaks, drain backup, abnormal movement, or electrical faults.
Connect separate machines instead of a combo
The adjacent workflow is installing a separate washer and dryer in a cabinet designed for a stacked arrangement. Best for buyers wanting overlapping wash and dry cycles: separate machines with compatible utilities and an approved stacking system.
Confirm the combined installed dimensions and support requirements first. Fit the washer’s water and drain connections, then install the dryer using the approved stacking hardware and its own electrical and ventilation instructions. Never balance one appliance on another without the specified attachment system.
Test the machines individually before operating them together. If simultaneous operation exceeds the available electrical supply, schedule the cycles separately; do not alter circuit protection.
The benefit is workflow flexibility. The trade-off is additional space, weight, connections, and service access compared with a single combo unit.
Troubleshooting
- Water leaks at an inlet fitting: Shut off the supply, inspect the sealing washer, and check for cross-threading or hose damage. Reconnect according to the manual. Overtightening is not a repair for a damaged seal.
- The washer fills and drains repeatedly: Compare drain-hose height and insertion with the installation diagram. Incorrect placement can cause siphoning. Correct the installation before repeating the cycle.
- The drain backs up: Stop the washer and check receiving-tank capacity, the permitted sewer arrangement, and the designated drain for obstruction. Do not keep running cycles into a backed-up drain.
- The breaker or ground-fault protection trips: Stop operation and check for an overloaded supply, moisture, damaged wiring, or an appliance fault. Have repeated trips diagnosed; do not bypass protection or keep resetting it.
- The machine shakes or dries poorly: For shaking, check leveling, loading, shipping-restraint removal, and mounting instructions. For poor drying, check the load, filter, and the model-specific ventilation or condensation system. Disconnect power before servicing accessible components as instructed.
Customize your workflow
For full-time living in 2026, build laundry around your campsite utilities rather than assuming every stop supports the same routine. At a full-hookup site, confirm the sewer connection and electrical supply. Without hookups, account for the water used and the wastewater stored before starting a cycle.
If you are still shopping, use the guide to travel trailers with a washer and dryer for full-timers to focus your questions on installed equipment versus preparation alone.
Recreation USA is a family-owned RV dealership with two Myrtle Beach-area lots, serving buyers considering new and used travel trailers and fifth wheels. Its stated approach emphasizes wholesale-to-you pricing and no hidden freight or prep fees. Ask separately what a proposed laundry installation includes.
Call the Myrtle Beach-area lots before bringing in an appliance. Buyers from Conway, the Carolinas, and nearby states should have the trailer identification, appliance model, and photos of the existing hookups ready.
FAQ
How do I hook up a washer and dryer in a travel trailer?
Verify the appliance matches the trailer’s water, drain, electrical, mounting, and ventilation provisions, then connect it according to both manuals. Test filling, draining, spinning, and drying while checking for leaks and faults.
Does washer-dryer prep mean everything is ready to connect?
No. Washer-dryer prep does not establish compatibility with every appliance or guarantee a dryer exhaust opening. Confirm the actual connections and the chosen appliance’s requirements.
Can I put a household washer and dryer in my travel trailer?
Only if the trailer and appliance installation requirements support that exact arrangement. Check voltage, circuit capacity, dimensions, weight, mounting, drain requirements, and ventilation before selecting household equipment.
Is a ventless combo better than a vented washer-dryer?
A ventless combo suits an approved installation without an exterior dryer exhaust route; a vented combo requires that route. Neither is universally better, and ventless designs still have model-specific ventilation, drainage, or water requirements.
Can I run laundry on a 30-amp RV connection?
You can operate compatible laundry equipment when its circuit requirements and the trailer’s total electrical demand fit the available supply. A 30-amp connection alone does not establish compatibility, so check the appliance and trailer documentation.
Where should the washer drain hose connect?
Connect the washer drain hose to the trailer’s designated laundry drain using the appliance’s specified height and retention method. Confirm the receiving tank or sewer arrangement rather than assuming a nearby pipe is suitable.
Do I need to winterize an RV washer in 2026?
Yes, if freezing conditions will reach an appliance containing water. Follow the exact appliance and trailer winterization procedures; draining the trailer alone does not prove the washer’s internal components are protected.
One last thing
Take connection photos before the machine disappears into the closet. Photograph hose routing, the drain connection, exhaust routing, mounting points, and appliance nameplate. Keep them with your 2026 ownership records so a future inspection does not start with guesswork.
Recreation USA travel-trailer buyers should ask for those same details when evaluating an RV with laundry already installed. A finished cabinet hides the connections you most need to understand.